The best Android emulators for computer
Hello, dear readers of the blog Sprintally. If before the emulators were a tool designed primarily for developers, but now this is a mass product that is used by ordinary users.
There are a lot of application scripts: someone plays mobile games with the help of a keyboard and mouse, a webmaster, for example, can see how their site looks on different devices, and many just get acquainted with Android.
And for the last couple of years there have appeared several popular services that do not have clients for the PC, but thanks to the Android emulators it is possible to use them on the computer (for example, Instagram on the computer ). There are legitimate questions: which of the emulators to choose, which is the most functional, and which one is best for certain purposes? In general, let's understand.
1. BlueStacks 2
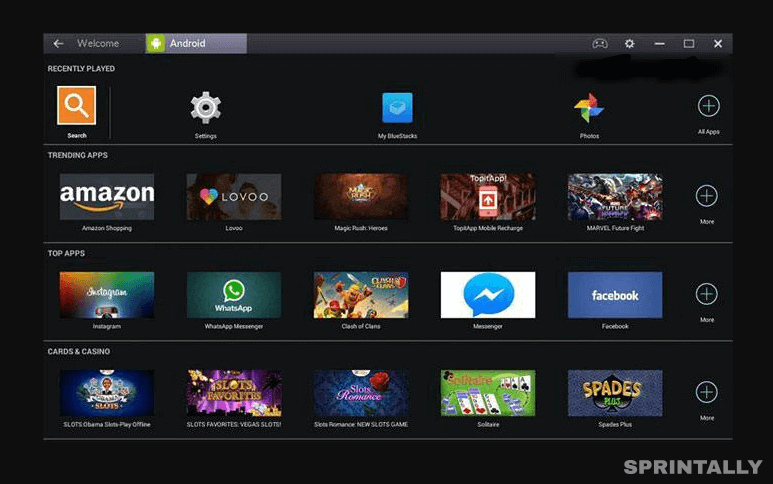
When you first start BlueStacks, you can not help but notice that it is significantly different from its competitors. Developers installed on top of their Android game launcher Gamepop, which displays only games and applications. That is, the usual desktops and menus you will not find here - the main focus is on testing software for mobile devices on the computer.
For the convenience of users, the developers added a sidebar that simulates various actions with the device: so you can make a screenshot, change the orientation of the screen from horizontal to vertical, move files to the emulator from the computer and much more.
The program has Google Play, so it will be enough to log into your account to install applications later. In addition, you can do this using APK files.
In BlueStacks realized the transfer of files from the computer to the Android-emulator and vice versa, but for this, you first have to download the file manager and do some manipulation.
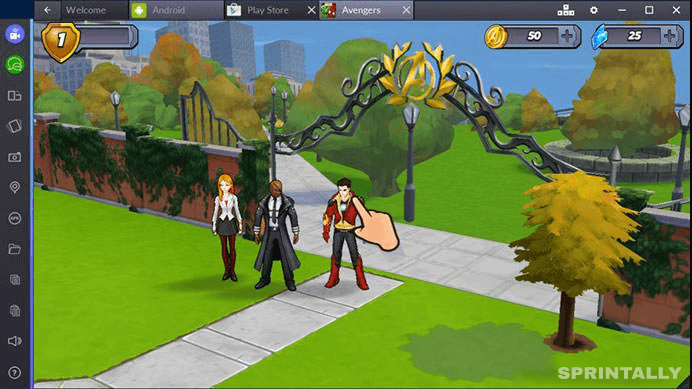
In conclusion, I would like to note that it is BlueStacks that is the most popular Android emulator on PC. Did it affect the fact that it is also one of the first emulators, I can not say, but I know for sure that most users download it exclusively for gaming, and this interface is great for this purpose.
2. Droid4X
Droid4X is downloaded from the official site of droid4x.com or it is possible to download the full version on specialized resources. The installation process itself lasts 5-10 minutes. After the program is installed, a corresponding notification will appear on the screen. On the 2-core Intel processor, the emulator opens for a long time, about 2 minutes.
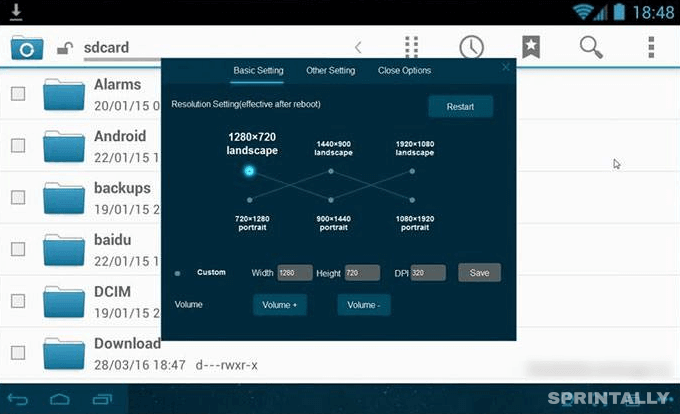
Droid4X runs on a slightly redesigned version of Android 4.2.2, the look of the desktop is not much different from what we can see on smartphones with the same OS.
In particular, the changes touched the menu and desktops, while the settings item "OSes" is embedded in the interface. The main screens are divided into 3 types: "Device", "Recommended" and "App Store". The last screen is a classic Google Market.
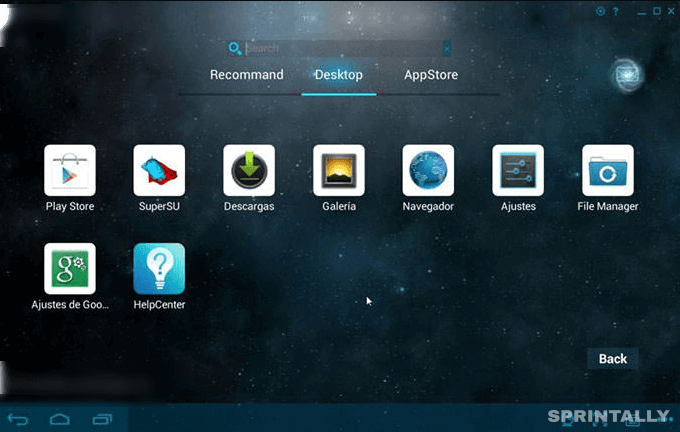
The controls themselves are located at the bottom of the screen and are almost similar to how the Android 4.2.2 operating system looks in the tablet version. At the same time, the keys for the mobile OS have been expanded with camera control buttons, scaling, keyboard and others.
A useful feature of this Android emulator on Windows is that there is a pre-installed SuperSU application, or in other words ROOT access. Also, the very useful feature is Droid4X Multi-Manager, which makes it possible to create several copies of the system at once. To manage activities in the program, you can use an Android-smartphone, on which a special application-controller is installed.
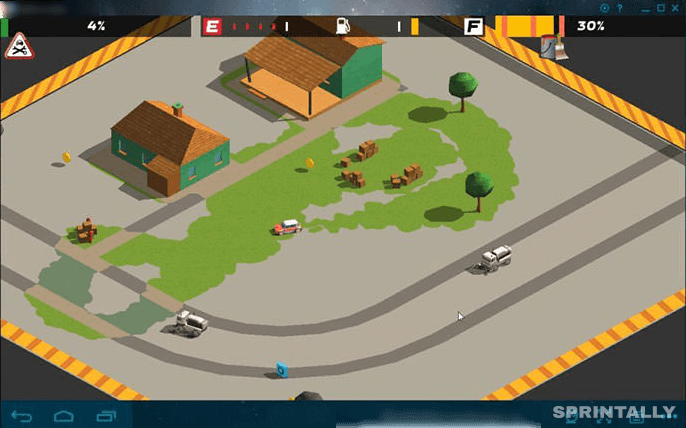
Install the Droid4X emulator is possible on the operating system Windows XP or higher. For full-fledged work, you need 1 GB of RAM in your PC. During operation, the amount of RAM used by the program is 400 MB and will increase as the applications are launched. Well, one of the main advantages - free and a complete lack of advertising.
3. Andy OS
Work with Andy OS begins with the launch of the installation file, which can be downloaded to andyroid.net. In this case, there are two versions - offline and online. So if there are problems with the connection, it's better to download the offline version immediately, which weighs about 450 MB. If you install online, the distribution volume will be 10 MB, and the rest of the required files will be downloaded as you work.
By the way, the installation is slow, although the manufacturer and indicates that the process takes about 10 minutes, in fact, everything goes on longer.
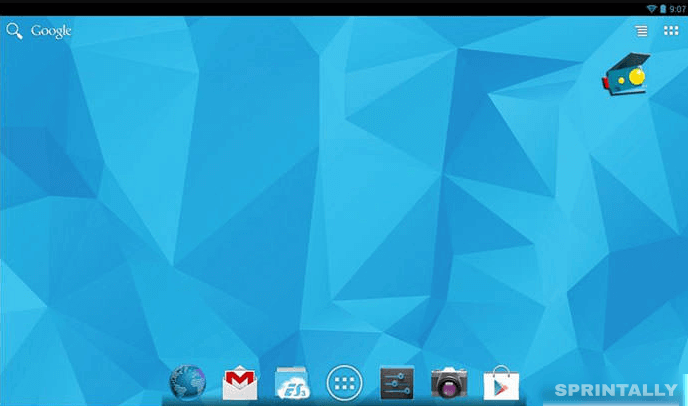
After downloading, we get to the standard desktop OS Android 4.2.2. The developer did not "reinvent the wheel" and left the operating system unchanged, and even the graphical shell is the same. True, the appearance of the interface can then be customized.
In the application menu, you can find all the necessary programs for work, including Google Apps. However, the emulator also has an unpleasant property - to load the applications unnecessary to the user without its consent.

In the lower menu, as it should be, all the controls are located. In addition to the standard for this version of the Android home button, the "Back" and "Running applications" buttons have new keys, for example, camera control, resolution, orientation, and other elements.
Interact with the emulator is possible with the help of peripheral controls, as well as from the touch screen of connected devices. The easiest way to do this is to use Andy Remote Control.
As regards performance, Andy OS demonstrates good performance. You can install it on Windows 7 SP1 or higher. For normal operation, it is necessary to have 3 GB of RAM on the PC, because on average, during the operation the program uses about 500 MB of RAM. Despite the fact that Andy OS is a free Android emulator, it constantly downloads a variety of advertising applications, which gradually "clutters up" memory and leads to uncontrolled traffic consumption.
4. Genymotion
This emulator is based on VirtualBox. That is, a virtual machine is created, due to which the maximum performance is achieved. The main thing is to check whether the hardware virtualization extension (if it is supported by your processor) is enabled in the BIOS to make Genymotion work with the greatest power.
First, you need to register on the official site, after which you can download the installation file of the program with VirtualBox or without it. If VirtualBox was downloaded and installed by you earlier, you can download the regular version of Genymotion.
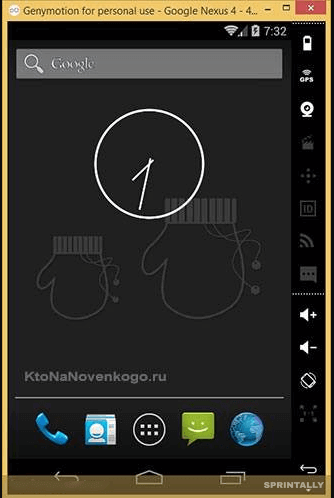
When you first start, you have to create a virtual device: you can choose from a variety of smartphones and tablets running the existing versions of Android OS for these models. For example, Nexus 9 can run on Android 5.0 and higher.
The emulator interface is a naked Android with three familiar control buttons, a menu, a "shutter", etc. In addition, there is a special sidebar from where you can turn on / off the Internet, GPS or webcam, adjust the sound or change the orientation of the screen.
If you want to learn more about this Android emulator on PC. Genymotion is a solution for geeks, which is still actively developing and being replenished with new virtual devices.
5. Nox APP Player
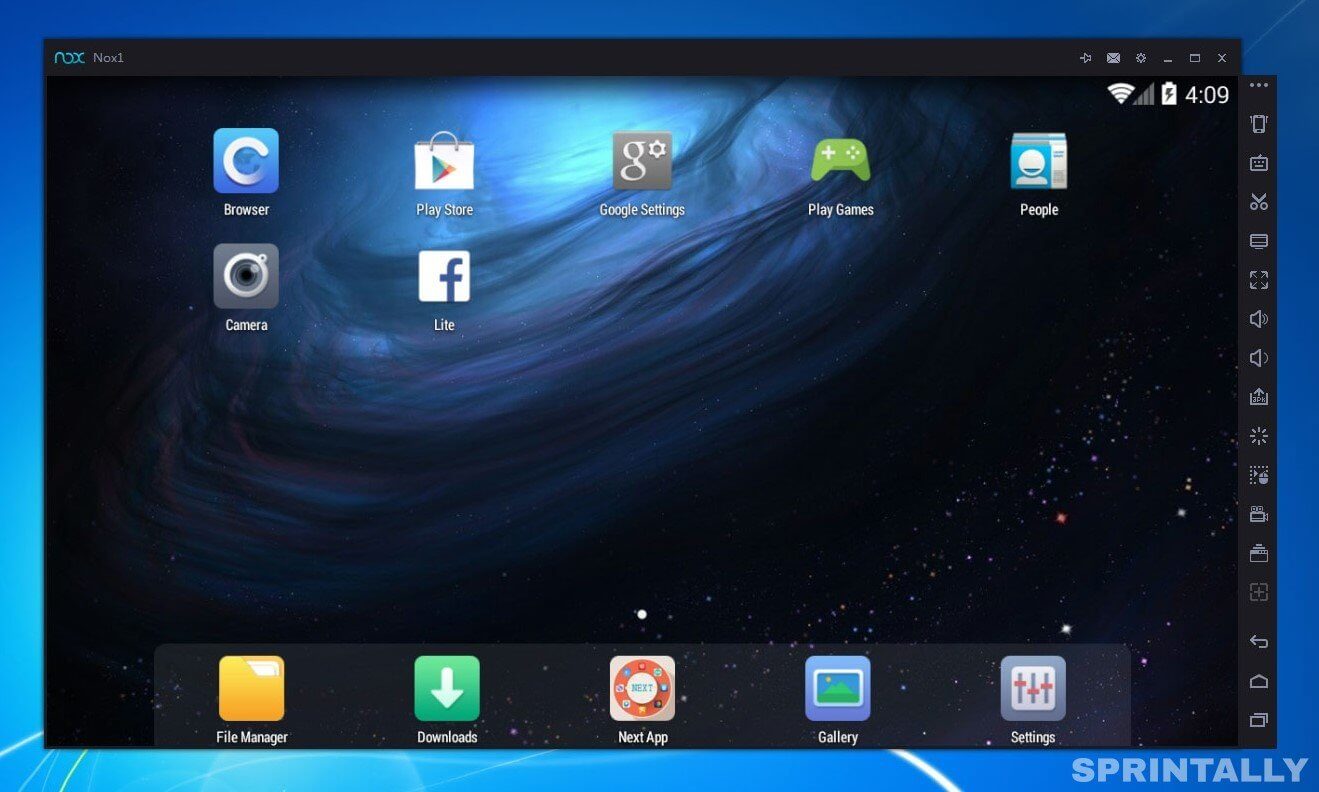
You can download this emulator from the developer's site bignox.com, and it can be either online or offline, at the user's choice. The installation itself is simple and relatively fast and takes no more than 5 minutes. Acquaintance begins with the recycled home screen Android, on the interface, similar to a tablet. Labels are arranged in the form of a square grid, in the presence there is a dock-panel, a status bar, and other necessary elements.
The menu with applications in Nox App Player is missing, thus recalling the interfaces of Chinese developers, where the application shortcut immediately gets to the desktop. But widgets in the emulator on the desktop cannot be placed. Initially, there are several built-in applications in the installed program, including Google Play.
Controls are located on the right side of the screen, where you can add the necessary icon yourself. The advantage of the program can be called a full-screen full-screen mode, which is not always possible in Android emulators for Windows.
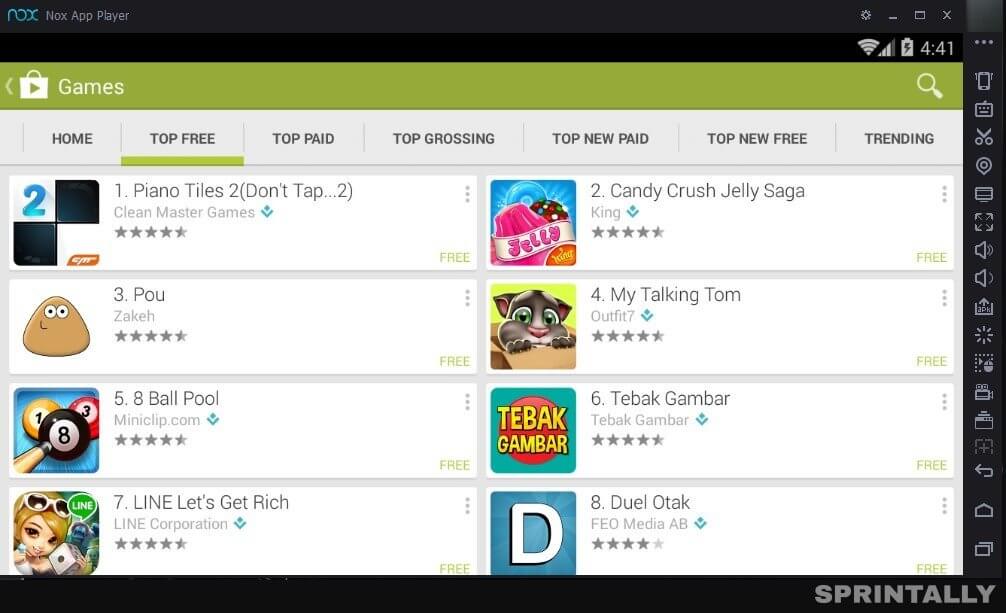
Interact with the Nox APP Player with the mouse or touchscreen. In addition, it is possible to assign and further add additional control keys, which is easy to do in the control settings.
The functional here is very decent. Here, you can record video from the screen, save multiple images of the system and switch between them and support the game peripherals with already built-in profiles. Curiously, the settings allow you to independently limit the amount of memory consumed by the software, while the minimum required amount for work is 400 MB during startup.
You can install the Nox App Player on the operating system Windows XP SP2 or higher. To work, you need at least 512 MB of RAM on your computer. The program is free, besides obsessive advertising, this Android user emulator is not annoying.
Which of the Android PC emulators is better?
The review presents 5 utilities, they all do an excellent job, but I'd like to highlight Nox App Player and Genymotion. These emulators have maximum functionality, suitable for both developers and ordinary users and there is no advertising in them.
If you are a fan of games, then the best option, in my opinion, is BlueStacks.
Good luck to you! See you soon on Sprintally.


