Here are steps for Basic configuration for CentOS –
Step 1. Change the password
To change the root password you need to enter the command passwd. To change or not to change the default password – a private matter.
Step 2. System update
To update the system, you need to enter the yum update command. It is clear that the basic system is already a bit outdated, we want to deal with the latest software, right? After upgrading the system, you can install any software like this:
yum install <package name>
For example, you can install the package of mc for more convenient operation with files (File Manager).
Step 3. Firewall configuration
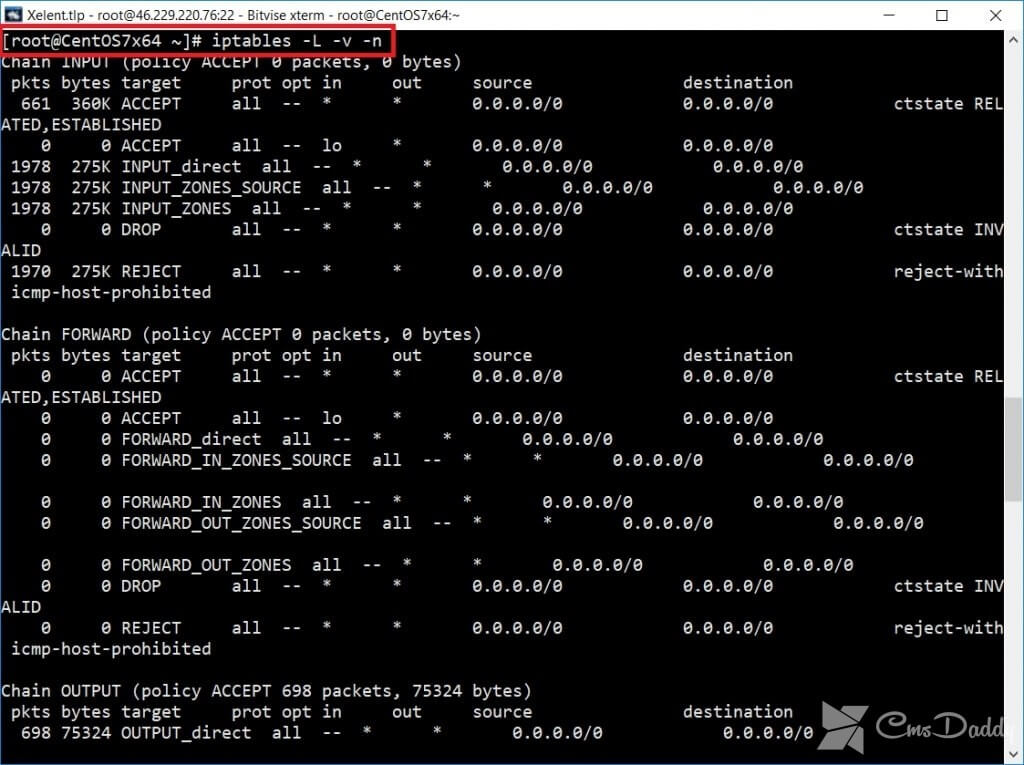
In CentOS as a firewall uses the familiar iptables. By default, the firewall is running, and to view his rule with the command shown in the screenshot:

Somehow in CentOS the default management rules, iptables firewall is used. The essence of this service is to manage iptables. But many administrators accustomed to managing directly – because iptables is the tool that is in any Linux distribution.
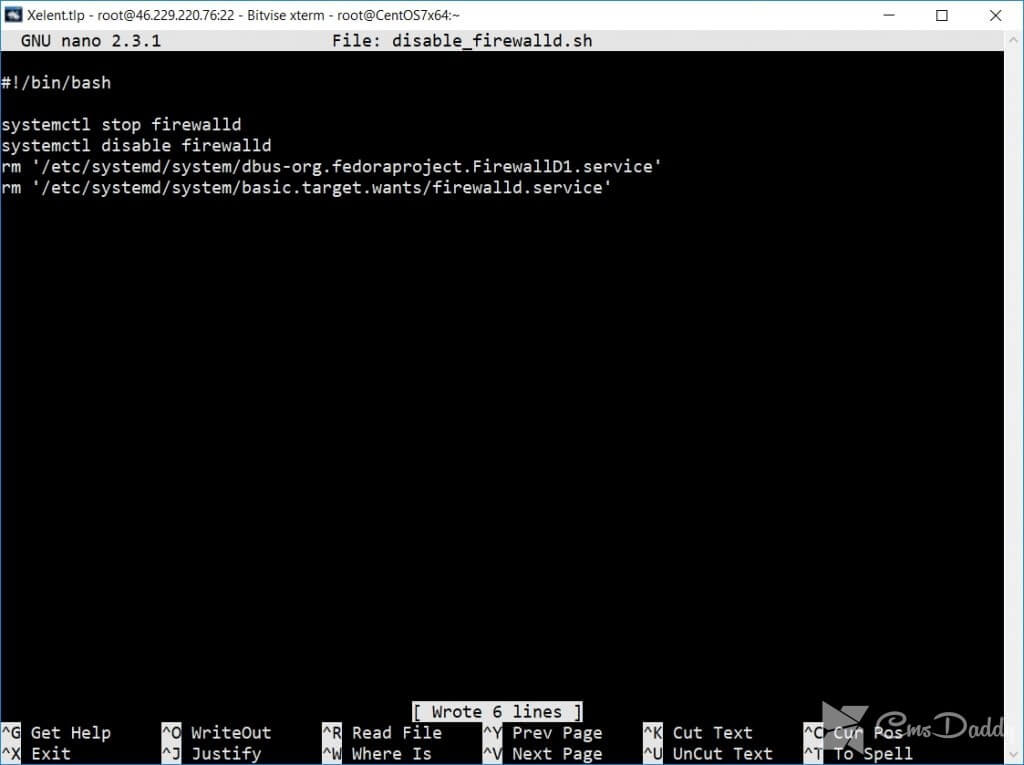
Disable firewalld:

The script disable firewalld
After that, you need to install the package iptables-services is the iptables utility, and then enable auto-start iptables:
systemctl enable iptables
Left to write the script iptables_config.sh establishing firewall rules. The script is pretty cumbersome to publish the article, so you can download it from our site. The script is ready to use, you need to register only your IP address.
To provide an automatic download of this script is not necessary: as soon as you start it, all the rules are saved in the file /etc/sysconfig/iptables and will be restored when you restart the server.
Step 4. Time setting
To change the time zone, you can:
# ln-s /usr/share/zoneinfo/Europe/Volgograd /etc/localtime
This command sets the time zone. By default, the VDS is configured from CmsDaddy on Asian time (Asia/Kolkata).
To synchronize the time used by ntp, but by default, it is not installed, so you need to manually install the ntp package. Then you need to add ntp to autostart:
ntpupdate pool.ntp.org
systemctl start ntpd
systemctl enable ntpd
The first command updates the time, the second starts the service, and the third includes the automatic download service.
Step 5. Do the system logs informative
By default, the log /var/log/messages will contain very many non-informative (redundant) messages. They are of little avail, but they hinder the search for important messages, if there somecrashing.
Go to the directory /etc/rsyslog.d. Open the file clear.conf (or nano, or the built-in mc editor by pressing F4). Add the line:

Configuration of rsyslog
After that, restart rsyslog:
service rsyslog restart
That’s all for now.


