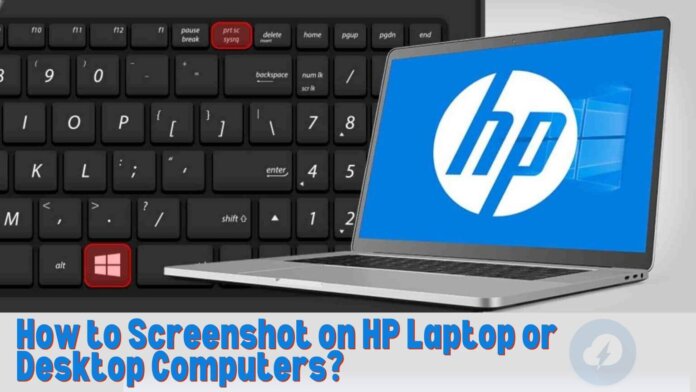
Taking a screenshot on HP Laptop is a cool way to capture what’s on your computer screen. It’s super useful at work for showing webpage changes to your coworkers, or during video calls with family far away. Being able to save these moments as pictures is a big deal in today’s computer world.
HP is a top computer brand that is always looking for ways to make using a computer easier. They can show you different ways to take screenshots, like using keyboard shortcuts or special software.
Screenshots have become an integral part of our digital lives, allowing us to capture and share moments, important information, or even technical issues with ease. If you’re a proud owner of an HP laptop or desktop computer, learning how to take screenshots can enhance your productivity and communication.
In this comprehensive guide, we’ll walk you through various methods to screenshot on HP laptops or desktop computers, catering to different operating systems and preferences.
1. Understanding the Basics
Before delving into the specifics of capturing screenshots on HP laptop or device, it’s essential to understand the basic terminology and functions associated with screenshots.
- What is a Screenshot?: A screenshot is a digital image of the content displayed on your computer or mobile device’s screen. It allows you to capture and save exactly what is visible at a particular moment.
- Why Take Screenshots?: Screenshots serve various purposes, including capturing important information, documenting errors or issues, sharing content with others, creating tutorials or guides, and more.
2. How to Screenshot on Windows based HP Laptops
If your HP laptop or desktop runs on a Windows operating system, you have multiple options for taking screenshots.
- Method 1: Using the Print Screen Key (PrtScn):
- Press the “PrtScn” key on your keyboard to capture the entire screen.
- To capture only the active window, press “Alt + PrtScn” simultaneously.
- Open an image editing software like Paint and paste the screenshot (Ctrl + V). Save the image as desired.
- Method 2: Snipping Tool:
- Search for “Snipping Tool” in the Windows search bar and open the application.
- Click on “New” and select the area of the screen you want to capture.
- Save the snip using the “Save Snip” button.
- Method 3: Snip & Sketch (Windows 10 and above):
- Press “Windows key + Shift + S” to open Snip & Sketch.
- Select the desired snipping mode (rectangular, freeform, fullscreen).
- The screenshot will be automatically saved to the clipboard and can be pasted into an application.
3. How to Screenshot on HP Computers Running macOS

If you own an HP laptop or desktop running macOS, the process of taking screenshots is slightly different but equally simple.
- Method 1: Using Keyboard Shortcuts:
- To capture the entire screen, press “Command + Shift + 3” simultaneously. The screenshot will be saved on your desktop.
- To capture a specific area, press “Command + Shift + 4” and then drag to select the desired area. Release the mouse button to capture. The screenshot will also be saved on your desktop.
- Method 2: Using Grab Utility:
- Open “Finder” and navigate to “Applications” > “Utilities” > “Grab.”
- Choose the type of screenshot you want (selection, window, screen, timed screen).
- Save the screenshot in your desired location.
4. Advanced Screenshot Techniques
Beyond the basic methods outlined above, there are several advanced techniques and third-party tools you can utilize to enhance your screenshot-taking experience on HP computers.
- Third-Party Screenshot Tools:
- Using the Windows Snip & Sketch App:
- This built-in Windows app allows for more flexible screenshotting with options for annotations and cropping.
5. Tips for Optimizing Screenshots
To ensure your screenshots are clear, informative, and visually appealing, consider implementing the following tips:
- Use High Resolution: Capture screenshots at the highest resolution possible to maintain clarity, especially if you plan to zoom in or print the image.
- Organize Files: Create a dedicated folder on your computer to store screenshots and keep them organized for easy access.
- Edit and Annotate: Use image editing software or built-in tools to annotate screenshots with text, arrows, or highlights to convey information more effectively.
- Consider Privacy: Be mindful of sensitive information that may be visible in your screenshots, especially if you plan to share them publicly.
Conclusion
Mastering the art of taking screenshots on your HP laptop or desktop computer opens up a world of possibilities for communication, documentation, and creativity. Whether you’re using a Windows-based system or macOS, the methods outlined in this guide provide you with the tools and knowledge needed to capture and share content effortlessly. Incorporate these techniques into your workflow to streamline tasks and enhance your digital experience with your HP device.
