Configuring Apache on Debian

This article can be seen as a guide to setting up Apache on the Debian webserver. We will set up the web server VPS, running a Debian distribution.
Installing Apache
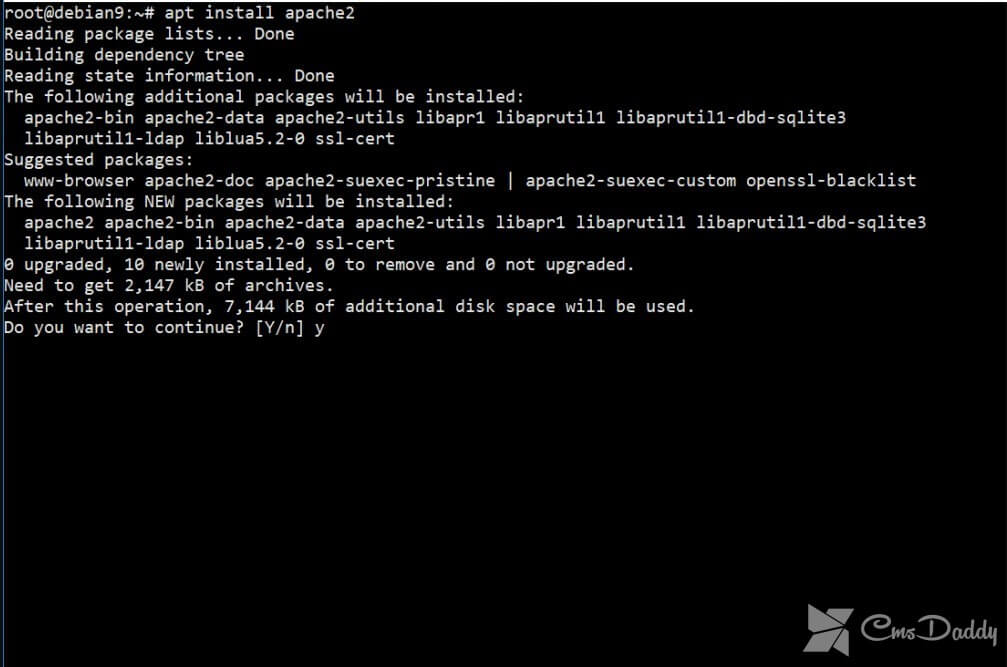
Apache is the software that implements the function of the webserver. To install Apache with the following command:
apt install apache2

Installing Apache
In addition to Apache, you need to install web browser because we need to check the work of the webserver:
# apt install w3m
After the installation of the browser, enter the following command:
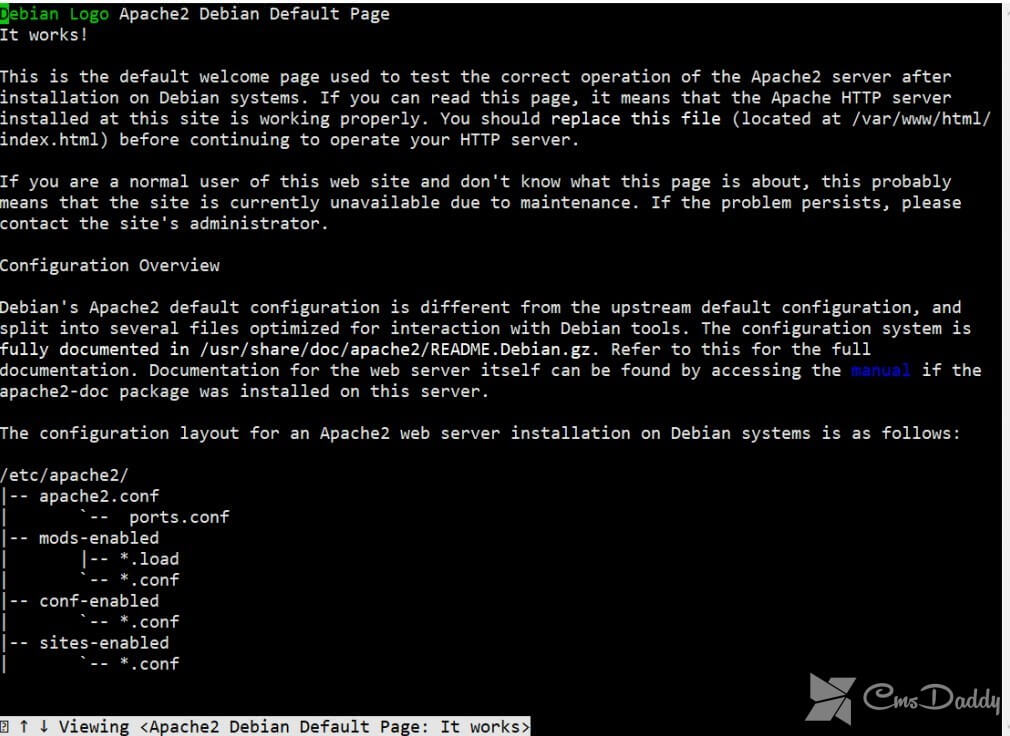
# w3m 127.0.0.1
You should see the page shown below.

It works!
To exit the browser, press q and then enter y to confirm the exit.
Setup Debian webserver
After installation of the web server Debian, you can start setting it up. The web server rarely used to host one site. Most likely, sites will a few. Further, it will be shown how to create two virtual hosts example1.com and example2.com. Not to bother with DNS settings (a topic for another article), add to /etc/hosts line: 127.0.0.1 www.example1.com 27.0.0.1 www.example2.comCreate user hosting, in your home directory which will contain files for both sites: # adduser hosting

Create user
Log in as this user:
# su hosting
In the user's home directory, create the following structure:
cd ~ mkdir www mkdir www/example1 cd example1 mkdir htdocs mkdir cgi-bin mkdir logs cd ~ cp-R www/www example1/example2 exit
We create a directory of the web server in the subdirectory for each site. Each of them in turn, we create the directories htdocs, cgi-bin, and logs. The first will contain the files from a particular site, the second CGI applications, and the third logs. We now proceed directly to configuring the webserver. Let's start with the ports.conf:
# nano /etc/apache2/ports.conf
It should look as shown in the illustration below. The Directive NameVirtualHost *:80 is necessary, on the standard port 80, you could use virtual nodes, which we define next.

The file /etc/apache2/ports.confPress Ctrl + O and then Ctrl + X to save and exit the editor.
Go to the directory sites-available. It is necessary to create two config configuration for each of our virtual nodes:
# cd /etc/apache2/sites-available # nano example1.conf # nano example2.conf
The following is the configuration for the first node. For the second it will be the same, different is only the path (instead of X enter the node number is 1 or 2):
<VirtualHost *:80> ServerAdmin hosting@localhost ServerName www.exampleX.com ServerAlias exampleX.com # The path to the index file DirectoryIndex index.html DocumentRoot /home/hosting/www/exampleX/htdocs/ # Path to CGI ScriptAlias /cgi-bin/ /home/hosting/www/exampleX/cgi-bin <Location /cgi-bin> Options +ExecCGI </Location> # Path to log files ErrorLog /home/hosting/www/exampleX/logs/error.log CustomLog /home/hosting/www/exampleX/logs/access.log combined </VirtualHost>
Next, you need to create index files for each site to test their performance:
su hosting cd /home/hosting/www echo "example1.com works" > example1/htdocs/index.html echo "example2.com works" > example2/htdocs/index.html exit
We have to activate the created virtual nodes and restarted the webserver. To activate the nodes necessary to create the link to config from the directory sites-available in the catalog sites-enabled:
# cd /etc/apache2/sites-available # ln-s example1.conf /etc/apache2/sites-enabled/example1.conf # ln-s example2.conf /etc/apache2/sites-enabled/example2.conf
Left to restart Apache:
# systemctl restart apache2.service
Connect to the first node:
# w3m www.example1.com
If you did everything correctly, you should see the index file for your first site. Similarly, it should work for the second.

First opened :)
That's about it. Configure Apache virtual host and complete.


