Installing WordPress to Hosting Manually
Manual installation of WordPress requires a little more action than installing with the script auto-installer, but this does not mean that you need special technical skills for this.
Downloading WordPress to Hosting
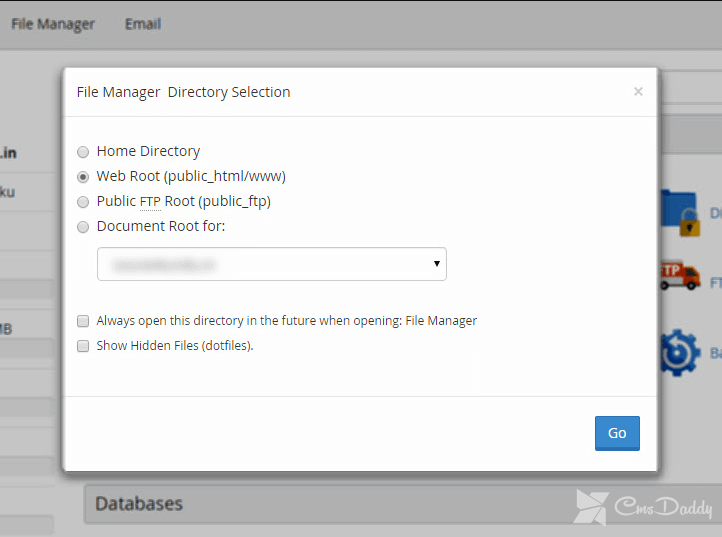
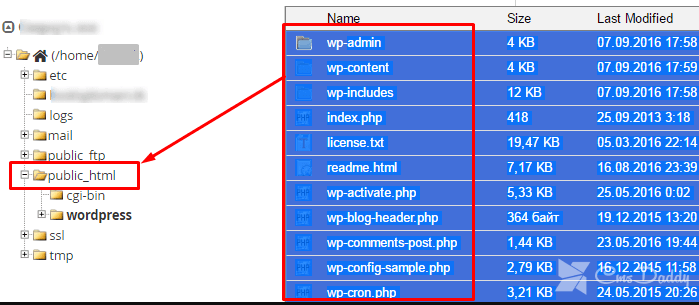
To start installing WordPress, you must download it to your computer. You can download any distribution you are interested in on the official website. After that, you need to upload the archive to the desired directory in cPanel (if you want the site with WordPress to open immediately on the domain, you need to upload the archive to the public_html directory).
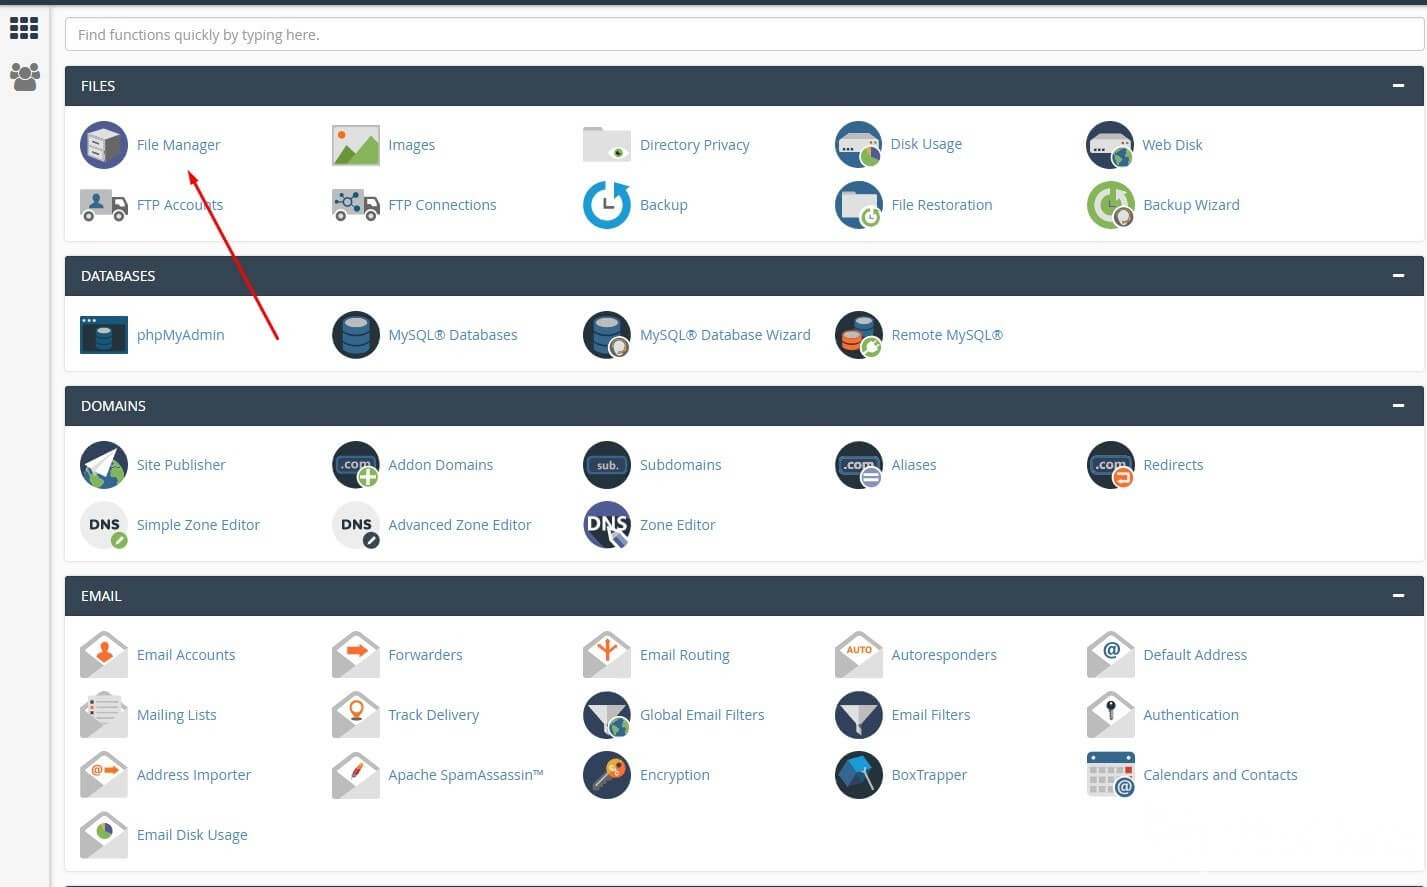
To do this, you can use any program for FTP connections (for example, FileZilla) or go to "File Manager" in cPanel and simply drag and drop the necessary files and folders into the window of the file manager in the desired open directory.

This archive should be unpacked using cPanel. To unpack the zip-archive, once click on the archive with WordPress to highlight it, and click the "Extract" button.
When unpacking files to the directory where the archive was (in our case it is public_html), a "WordPress" directory will be created and that the content will be accessible from the directory that you need, you need to transfer the files to this folder manually. To do this, just select them in the cPanel File Manager and drag them into the desired folder in the left pane.
Database creation
Next, you need to create a database for WordPress and a user for the created database for WordPress.
To add a database and a user to it, you can use the "MySQL Database Wizard" in cPanel - this is the easiest way because you only need to specify the database name and username. After that, the user will be automatically added to the database. However, we give in this manual how to add a database and a user with more settings. This information can be useful to you in further work with hosting.
You need to go to the section "Databases" in the menu "MySQL Databases".
To create a database in the "New database" field, enter the name of the database for WordPress, for example, wp-db. After creating the database, it will have a name with a prefix in the form of a username in cPanel and then the name that you specified.
After creating the database, you need to create a database user. You can also do this in the menu "MySQL Databases". You can specify any username (for example, user).
After you have created the user, you need to add it to the database. This should also be done in the menu "MySQL Databases".
When adding a user to the database, you will need to specify the privileges of ALL RIGHTS for the user of this database.
Editing a WordPress configuration file
After you created the database, created the database user, and added it with the necessary privileges to the created database, you must configure the wp-config.php file
Go to cPanel> File Manager> the directory into which you transferred the unpacked distribution files and find the file "wp-config-sample.php". Rename this file to "wp-config.php". Open this file with one of the editors presented in the screenshot.
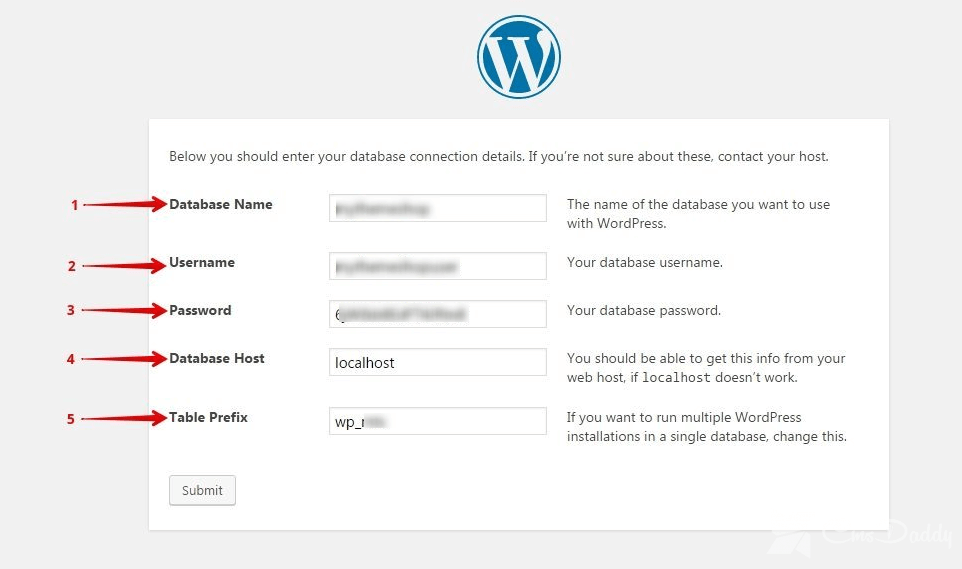
In the opened file, you need to make changes according to the database name, database user, and password for the database you specified when creating them.
Installing WordPress
To start the installation of WordPress, depending on whether you have placed the content into the root folder of the site, or in a subfolder, you can use links like:
http: //your_domain/wp-admin/install.php - if you decide to place the site in the root folder of the site.
http: //your_domain/folder_name/wp-admin/install.php - if you decide to place a site in a subfolder of the site.
In the form that opens, you need to fill in the fields:
1. Site Title - the name of your site, which will be displayed to visitors.
2. Username - the username for the administrative login (with this username you will be logged in to manage the site).
3. Password, twice - here you need to specify the password for the administrative account twice.
4. Your E-mail - you need to specify an email to which you will send an email to the address of the site to which WordPress was installed and the username that was specified for the administrative account.
5. Privacy - tick off if you would like your site to be indexed by search engines.
6. The last step is to click the "Install WordPress" button to start the installation of the CMS for your site.
After the installation, you will see a message about the successful operation, as well as a button that invites you to enter the administrative part.
The installation is now complete. You can go to the administrative account and further customize the appearance of the site and its content the way you like.