Not long ago I came across a rather curious system of monitoring Observium. I decided to install it and configure it to look at it closer. What attracted me is the simplicity of installation and configuration. Before that, I used Zabbix. In principle, also nothing complicated to set up there, but Observium still to install and configure much easier. And now I will tell in detail how to do it.
My instruction will be based on the original manual from the developer’s site. But not in all. First, I translate all the points. Secondly, some will be small changes and comments related to the fact that we will be installing Observium on CentOS 7 version. Thirdly, I examples will show you how to add devices for monitoring in the system. If you don’t have a CentOS system setup, you can configure my article on this topic.
Preparing CentOS 7 to install Observium
So, we have:
# cat /etc/redhat-release
CentOS Linux release 7.0.1406 (Core)
First, disable SELinux:
# cat /etc/sysconfig/selinux
# This file controls the state of SELinux on the system.
# SELINUX= can take one of these three values:
# enforcing - SELinux security policy is enforced.
# permissive - SELinux prints warnings instead of enforcing.
# disabled - No SELinux policy is loaded.
SELINUX=enforcing
# SELINUXTYPE= can take one of these two values:
# targeted - Targeted processes are protected,
# minimum - Modification of targeted policy. Only selected processes are protected.
# mls - Multi Level Security protection.
SELINUXTYPE=targeted
Change the value:
SELINUX=disabled
Reboot:
# reboot
Add the necessary repositories EPEL and rpmforge:
# yum install epel-release
# rpm --import http://apt.sw.be/RPM-GPG-KEY.dag.txt
# yum install http://pkgs.repoforge.org/rpmforge-release/rpmforge-release-0.5.3-1.el7.rf.x86_64.rpm
Then install the required packages:
# yum install wget httpd php php-mysql php-gd php-posix php-mcrypt php-pear php-pear.noarch vixie-cron net-snmp net-snmp-utils fping mariadb mariadb-server MySQL-python rrdtool subversion jwhois ipmitool graphviz ImageMagick
Centos 7 installs MariaDB instead of MySQL, which has full compatibility with MySQL, including understands all her commands. Nevertheless, the service is called MariaDB. Run it and put this in the startup:
# systemctl start mariadb.service
# systemctl enable mariadb.service
ln-s '/usr/lib/systemd/system/mariadb.service' '/etc/systemd/system/multi-user.target.wants/mariadb.service'
Run the script security settings:
# /usr/bin/mysql_secure_installation
/usr/bin/mysql_secure_installation: line 379: find_mysql_client: command not found

NOTE: RUNNING ALL PARTS OF THIS SCRIPT IS RECOMMENDED FOR ALL MariaDB
 SERVERS IN PRODUCTION USE! PLEASE READ EACH STEP CAREFULLY!

In order to log into MariaDB to secure it, we'll need the current
password for the root user. If you've just installed MariaDB, and
you haven't set the root password yet, the password will be blank,
so you should just press enter here.

Enter current password for root (enter for none):
OK, successfully used password, moving on...Setting the root password ensures that nobody can log into the MariaDB
root user without the proper authorisation.

Set root password? [Y/n] y
New password:
Re-enter new password:
Password updated successfully!
Reloading privilege tables..
 ... Success!


By default, a MariaDB installation has an anonymous user, allowing anyone
to log into MariaDB without having to have a user account created for
them. This is intended only for testing, and to make the installation
go a bit smoother. You should remove them before moving into a
production environment.

Remove anonymous users? [Y/n] y ... Success!

Normally, root should only be allowed to connect from 'localhost'. This
ensures that someone cannot guess at the root password from the network.

Disallow root login remotely? [Y/n] y
 ... Success!

By default, MariaDB comes with a database named 'test' that anyone can
access. This is also intended only for testing, and should be removed
before moving into a production environment.

Remove test database and access to it? [Y/n] y
 - Dropping test database...
 ... Success!
 - Removing privileges on test database...
 ... Success!Reloading the privilege tables will ensure that all changes made so far
will take effect immediately.

Reload privilege tables now? [Y/n] y
 ... Success!

Cleaning up...

All done! If you've completed all of the above steps, your MariaDB
installation should now be secure.

Thanks for using MariaDB!
Disable the firewall or configure it separately. I don’t want to touch the settings of the firewall in this article:
# systemctl stop firewalld && systemctl disable firewalld
Installed Observium
By default, Observium is installed into the folder /opt. Go there
cd /opt
Download and unpack the archive with the monitoring:
# wget http://www.observium.org/observium-community-latest.tar.gz
# tar zxvf observium-community-latest.tar.gz
Go to the folder with the installation:
# cd observium
Now we need to create a database and a user for monitoring system Observium:
# mysql-u root-p
MariaDB [(none)]> CREATE DATABASE observium DEFAULT CHARACTER SET utf8 COLLATE utf8_general_ci;
MariaDB [(none)]> CREATE USER 'observium'@'localhost' IDENTIFIED BY '12345678';
MariaDB [(none)]> GRANT ALL PRIVILEGES ON observium.* TO 'observium'@'localhost' IDENTIFIED BY '12345678';
Create a configuration file of our server monitoring:
# cp config.php.default config.php
At the end of the file add the line:
$config['fping'] = "/usr/sbin/fping";
At the beginning of the editable connection parameters to the MySQL server:
// Database config
$config['db_host'] = 'localhost';
$config['db_user'] = 'observium';
$config['db_pass'] = '12345678';
$config['db_name'] = 'observium';
Run the script to create the database:
# php includes/update/update.php
Create the directories for logs and RRD graphs:
# mkdir rrd
# mkdir logs
# chown-R apache:apache /opt/observium
Now let’s edit the configuration file httpd. Added to the end of /etc/httpd/conf/httpd.conf
<VirtualHost *:80>
DocumentRoot /opt/observium/html/
ServerName observium.domain.com
CustomLog /opt/observium/logs/access_log combined
ErrorLog /opt/observium/logs/error_log
<Directory "/opt/observium/html/">
AllowOverride All
Options FollowSymLinks MultiViews
Require all granted
</Directory>
</VirtualHost>
Run httpd and add it to the startup:
# systemctl start httpd
# systemctl enable httpd
Create a user with administrator rights observium:
# cd /opt/observium
# ./adduser.php admin 12345678 10
Observium CE 0.14.11.6000
Add User

User admin added successfully.
Create a file of cron job monitor:
# touch /etc/cron.d/observium
Add there:
33 */6 * * * root /opt/observium/discovery.php -h all >> /dev/null 2>&1
*/5 * * * * root /opt/observium/discovery.php -h new >> /dev/null 2>&1
*/5 * * * * root /opt/observium/poller-wrapper.py 2 >> /dev/null 2>&1
Restart crond:
# systemctl restart crond
The installation of the Observium monitoring server is finished. You can go to configure and add nodes.
Custom Observium and add nodes monitoring
Go to the monitoring page at http://IP-аdress/ Us greeted by a welcome screen. Log in created by an administrator account.

Add the system local server on which you have installed our monitoring. Observium collects data via snmp. So we are going to configure the snmp server. He has a lot of settings, for example, will use the most simple and quick configuration. So, open the file /etc/snmp/snmp.conf and give it to the following form:
rocommunity public
syslocation "local-server"
syscontact root@localhost
Run and added to startup snmpd:
# systemctl start snmpd
# systemctl enable snmpd
To check if everything is fine to start:
# snmpwalk -v 2c -c public -O e 127.0.0.1
Should print a bunch of rows with information.
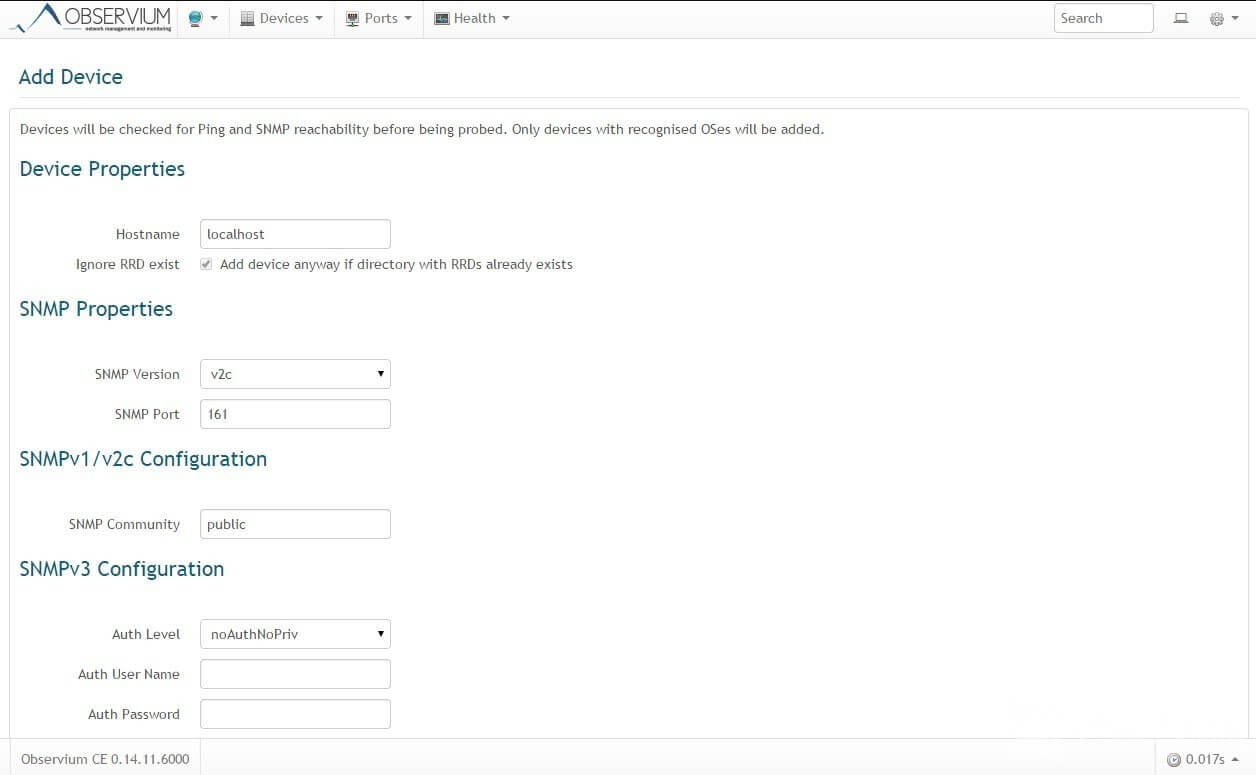
Now add a new device to Observium via the web interface. To do this, select Devices -> Add Device. Add our server:

Now in the list of devices will be the local server. You can either wait until the cron will poll the server or do it manually in the console:
# cd /opt/observium
# ./discovery.php -h all
# ./poller.php -h all
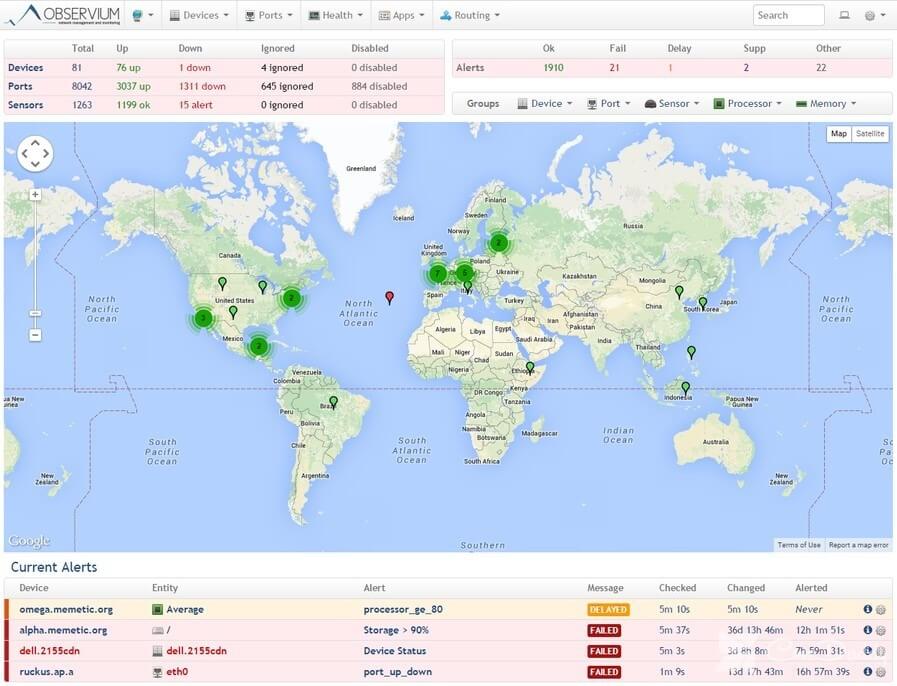
Information collected from the server, you can verify via the web interface. While graphs will be empty but eventually filled in. Thus you can add any supported device, do not forget to enable and configure snmp on them.
The installation and setup are finished, use the convenient and informative system of monitoring Observium.
