Installation of RDP server
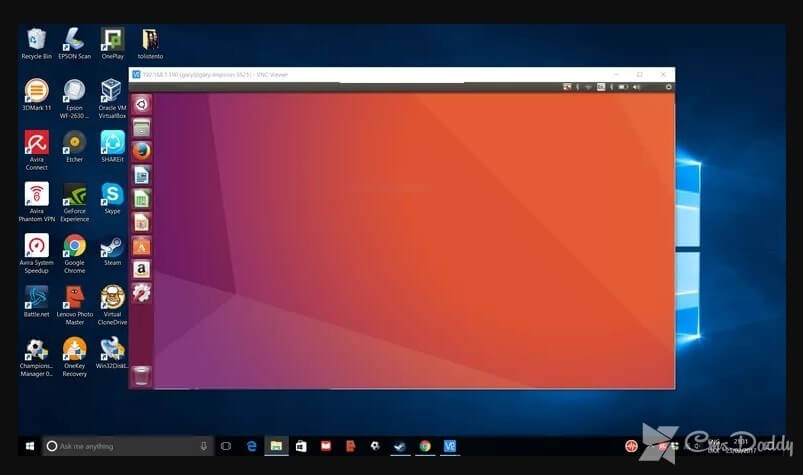
RDP server: Despite the fact that initially on a VPS and a dedicated server is no possibility to connect to a remote desktop in GUI mode, the connection can be adjusted independently by installing a few packages, namely: the very graphical environment and a tool for remote connection.
General information of RDP server
From the graphical environments, the installation of the following will be considered:
1) XFCE. Official website - xfce.org
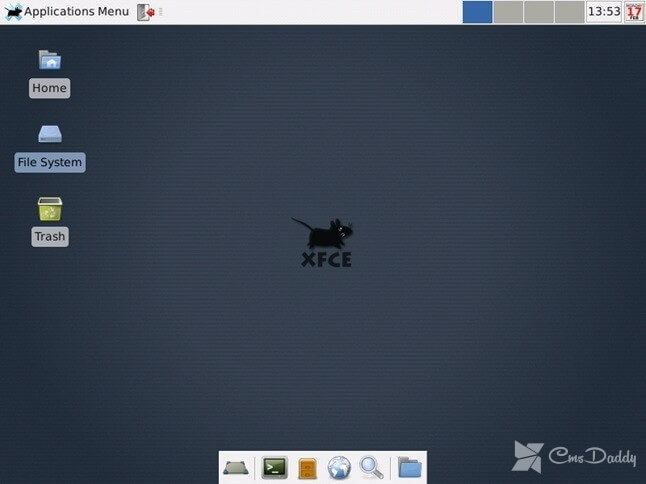
XFCE in resource consumption is one of the most lightweight desktop environments, so it is recommended to use a VPS with low performance.
2) GNOME. Official website - gnome.org
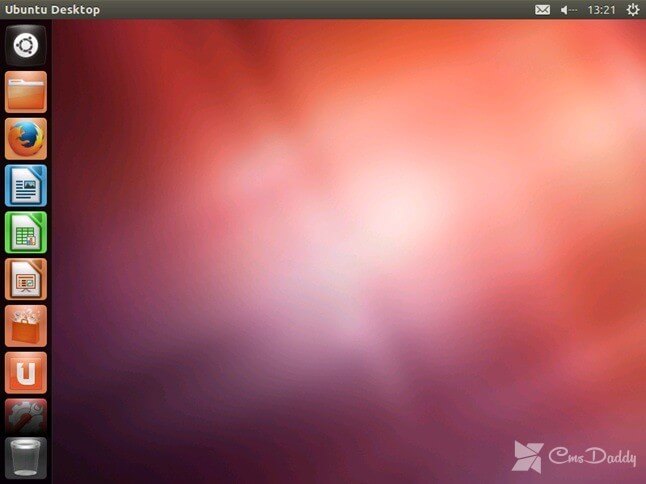
GNOME is the default shell in Debian. Therefore, if you usually work in this environment, install it on a VPS will not be much difficulty.
3) Unity. Official website - unity.ubuntu.com
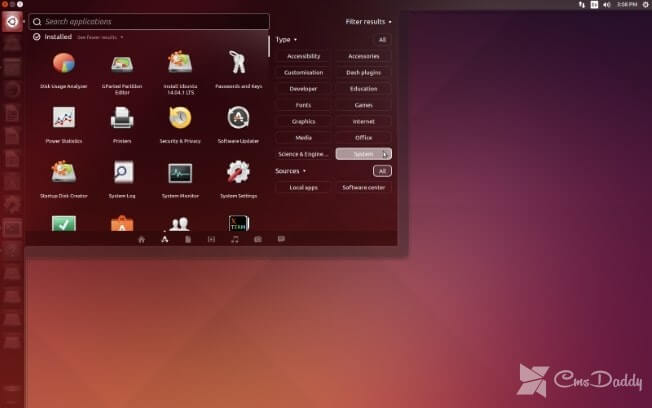
Unity is a free shell for the GNOME desktop environment developed for the operating system Ubuntu. Since Ubuntu 11.04, Unity has replaced GNOME classic shell.
4) The X Window System. Official website - x.org
From the software tools for creating a remote connection, the installation of an XRDP server will be considered, which allows you to connect to the VPS via the RDP protocol. In Windows, the client uses the utility mstsc.
The installation GUI and XRDP
Debian 7.4 (32 and 64 bit)
1. Updated list of available packages: apt-get update && apt-get upgrade2. Set the graphics environment and xRDP: apt-get-y install gnome-desktop-environment apt-get-y install xrdp nano3. Editable startup file xRDP. Our goal is to set up an automatic download of GUI when running a VPS. Use any editor like nano: nano /etc/xrdp/startwm.shAdded to the file startwm.sh the following lines: #!/bin/sh if [ -r /etc/default/locale ]; then . /etc/default/locale export LANG LANGUAGE fi . /etc/X11/Xsession gnome-sessionCompulsory add at the end a blank line. Save the results by pressing keys Ctrl+O and exit the editor Ctrl+X.
- Do restart the xRDP server with the command
service xrdp restart
- After performing these steps, you must restart the VPS from the SolusVM control panel or by running the command
reboot
CentOS 6.*
1. Updated list of available packages: yum -y upgrade2. Set the graphics environment: yum-y groupinstall "X Window System" "Desktop"3. Plug-in repository EPEL and Desktop: yum-y install xorg-x11-fonts-Type1 xorg-x11-fonts-truetype rpm-Uvh http://fedora.ip-connect.vn.ua/fedora-epel/6/i386/epel-release-6-8.noarch.rpm4. Performed the installation of xRDP and add it to the startup: yum-y install xrdp yum-y install firefox tigervnc tigervnc-server tigervnc-server-module chkconfig --levels 2345 haldaemon off xrdp chkconfig --levels 345 on chkconfig NetworkManager off service xrdp start5. A custom network connection. To begin, execute the command system-config-networkA dialog box appears in which you select DNS configuration, then press Enter.
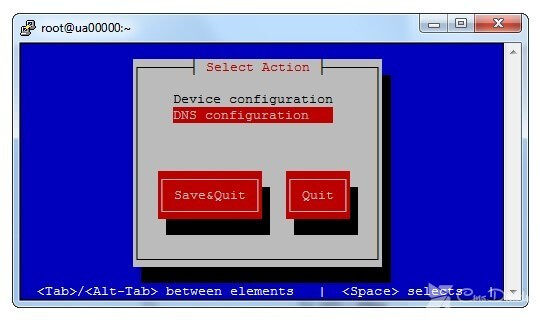
In the next window configuration in the field, Primary DNS specifies the IP address8.8.8.8and for Secondary DNS enter the IP address 4.2.2.3. Then click OK. Saved the changes by clicking on the button Save&Quit.
- Restart the virtual server using SolusVM or the command to be executed
reboot
CentOS 7
1. Running update packages are: yum -y update2. Add repository EPEL and Desktop: rpm-Uvh https://dl.fedoraproject.org/pub/epel/7/x86_64/e/epel-release-7-5.noarch.rpm rpm-Uvh http://li.nux.ro/download/nux/dextop/el7/x86_64/nux-dextop-release-0-1.el7.nux.noarch.rpm3. Set the graphics environment and xRDP: yum-y groups install "GNOME Desktop" yum-y install xrdp tigervnc tigervnc-server tigervnc-server-module xorg-x11-fonts-Type1 firefox4. You must specify GUI, which will be available by default. Team: touch /etc/sysconfig/desktop; echo "the"PREFERRED=gnome"" > /etc/sysconfig/desktop5. To xRDP loaded automatically when you start the virtual server, additionally execute the following command: systemctl enable xrdp.service systemctl start xrdp.service service xrdp restart6. Disable Firewalld: systemctl disable firewalld systemctl stop firewalld7. Restart the virtual server using SolusVM or the command to be executed reboot
Ubuntu 12.04 (64 bit)
1. Running update packages apt-get-y update2. Set the graphics environment and the xRDP service: apt-get-y install ubuntu-desktop --no-install-recommends apt-get-y install xrdp3. Custom startup xRDP: /etc/init.d/xrdp start4. After performing these steps, you must restart the VPS from the SolusVM control panel or by running the command reboot
Ubuntu 14.04 (64 bit)
1. Running update packages apt-get-y update2. Install the xRDP service: apt-get-y install xrdp3. Set the graphics environment: apt-get-y install xfce44. Configurable using the server graphical shell installed by default: echo xfce4-session >~/.xsession5. Editable startup file xRDP using any editor like nano: nano /etc/xrdp/startwm.shThe final file contents should be: #!/bin/sh if [ -r /etc/default/locale ]; then . /etc/default/locale export LANG LANGUAGE fi startxfce4Important! Pay attention to the fact that at the end of the file, add a blank line. Save the results of editing the shortcut key combination Ctrl+O and exit using Ctrl +X.
- Do restart the xRDP server:
service xrdp restart
- Restart the virtual server using SolusVM or the command to be executed
reboot
The RDP
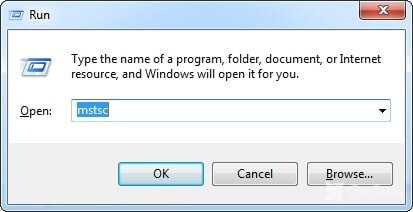
- Run-on your PC the utility mstsc via menu start -> Execute
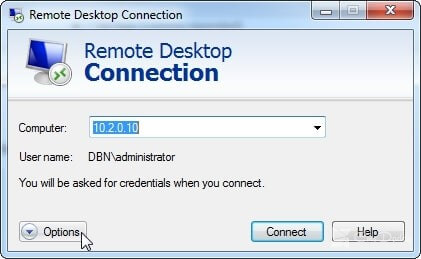
- Enter the server's IP address and click on the Connect button.
- In the event of a window with a warning about the impossibility of authentication of the computer, click on the button Yes.
- In the window that appears, enter credentials and click OK.
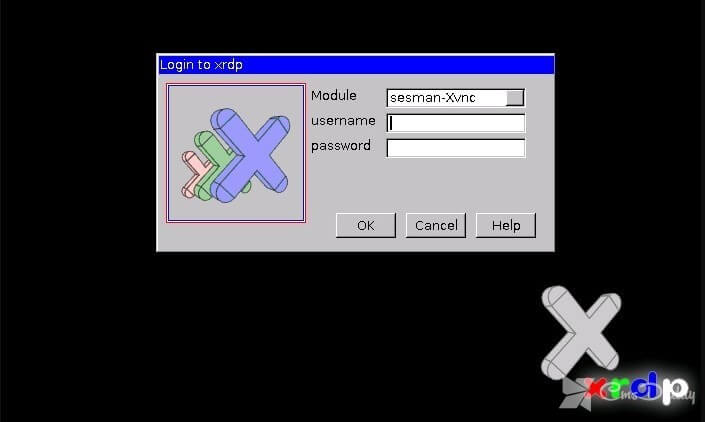
- If data has been entered correctly, it opens desktop VPS.
Note:
For security reasons, it is highly recommended not to continuously work on VPS in the graphical mode as the root user. It is best to use to create a new user with the command in the console:
useradd-m username
then set it a password with the command:
passwd username
But after entering a new password you will be able to use the new information to connect via RDP.
How to set up a connection in full-screen mode?
Full-screen mode is included in most utility mstsc via the button Settings.
After clicking on this button will unfold the window with the available settings, among which it is necessary to go to the tab Screen, and then under display settings to translate the slider in the rightmost position, as shown in the image.
You can then return to the General tab and initiate a connection to the server.


