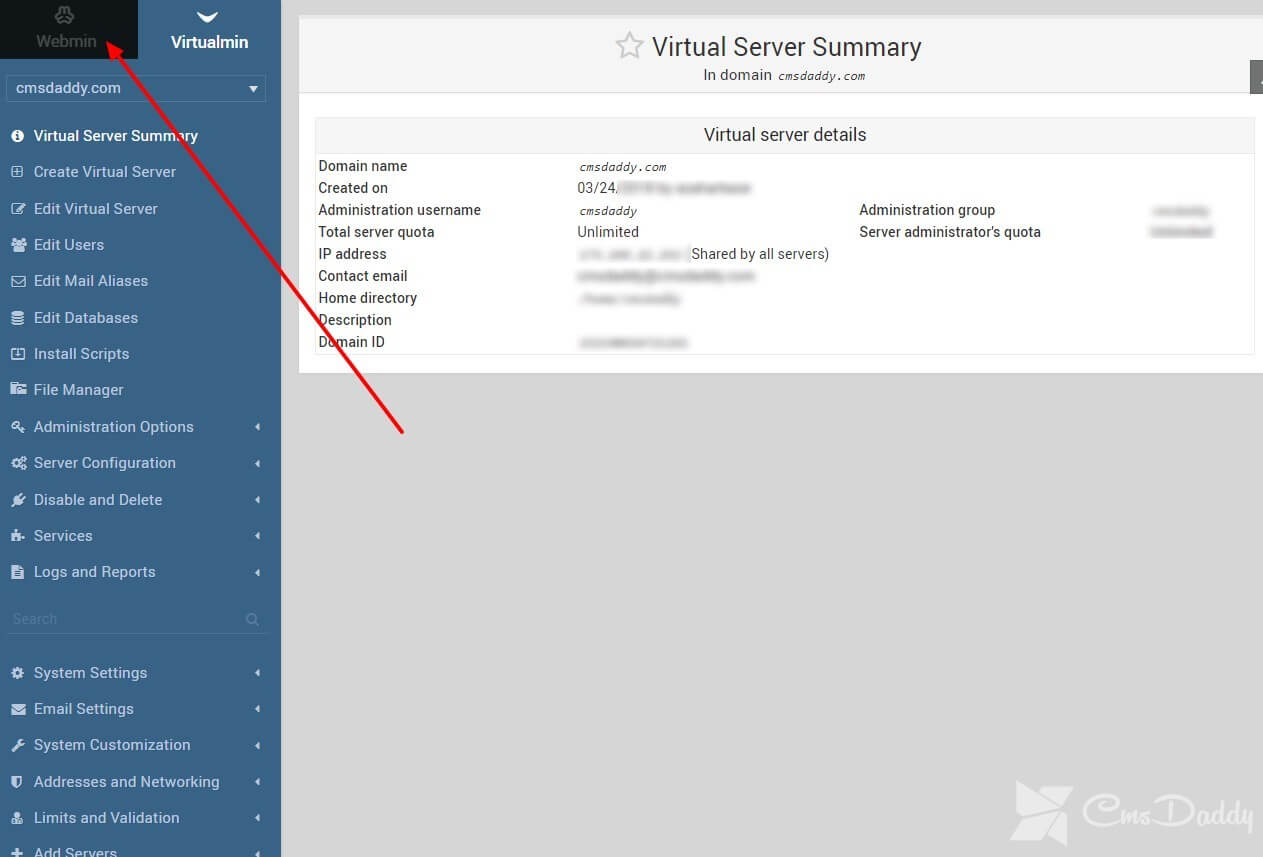
The Webmin is a web-based server administration control panel for Linux based systems. It provides the easiest alternative to command line server administration and can be used to control various aspects of a system, such as users and groups, FTP, Filemanager, through the use of the provided Webmin addons. If you wish to manage your own VPS or dedicated server but you are uncomfortable with the command line, Webmin is one the best tool which can help you get started.
This tutorial will guide you to install Webmin using apt-get on Ubuntu.
Prerequisites
To install Webmin on your server, you must have the access to a user with the root privileges. We will highly recommend to you by us (CmsDaddy) that you set up a non-root user with sudo access. This non-root user will be used also to log in to the Webmin user interface, and the Webmin will use the login credentials to the admin of your server.
NB: You will be required to use password-based user authentication enabled to log in to the server by Webmin.
Log in Via SSH
Login to your server with the new user that you have created (or root) via SSH (submit your username and server IP or hostname here):
ssh new_user@server_IP_address
Put and apply the password prompt to finish the login process.
Now, get started with the installation of Webmin by following the steps!
Webmin Installation
To install Webmin by apt-get, you must add the Webmin repository to your sources.list file.
From your server, open the file sources.list in the text editor. We “CmsDaddy” will use nano in this tutorial:
sudo nano /etc/apt/sources.list
If you are prompted for a “[sudo] password”, enter your newly created user’s [root] password.
Now, press Ctrl-W then Ctrl-V to navigate to the end of the file, then add the following lines to the file:
deb http://download.webmin.com/download/repository sarge contrib
deb http://webmin.mirror.somersettechsolutions.co.uk/repository sarge contrib
When you are finished editing, save the file by pressing Ctrl-X, then y, RETURN.
Now, add the Webmin GPG key to apt, so the source repository you added will be trusted. This command will do that:
wget -q http://www.webmin.com/jcameron-key.asc -O- | sudo apt-key add -
Before installing the Webmin, you must have to update apt-get’s package lists:
sudo apt-get update
Now, run the apt-get command to install the Webmin to your server:
sudo apt-get install webmin
Enter y to confirm the installation.
Once the installation is complete, the Webmin service will start automatically.
That’s All! Enjoy with your new Control panel.
