How to create a menu in WordPress?

In this article, we'll look at how to create a menu in WordPress, and how to bring it to your blog and add this feature to your theme.
With the release of WordPress, from version 3+ there was an opportunity to create a menu from the admin area of WordPress.
Create a menu in WordPress
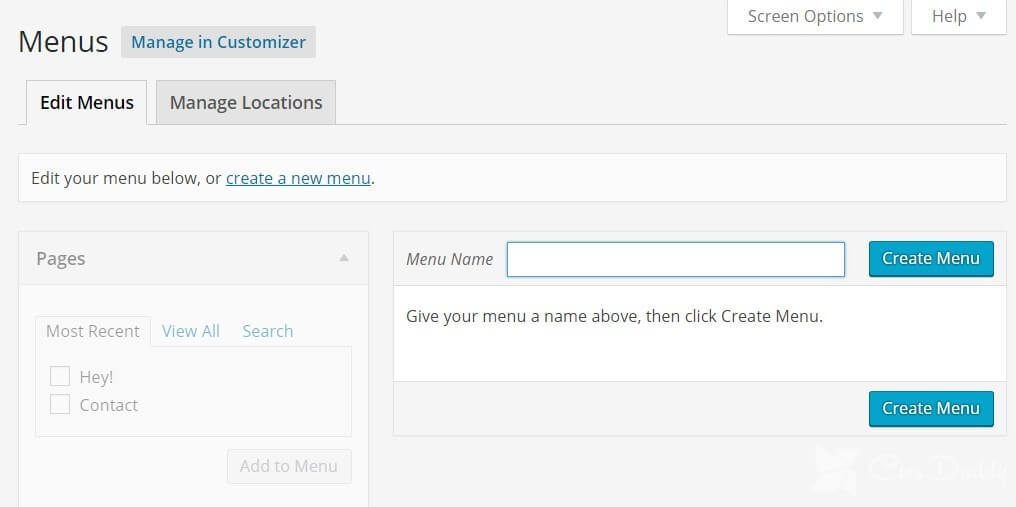
In order to create the menu, go to the "Appearance" >> "Menu" in the WordPress administrative panel. On the loaded page, in order to start adding menu items, you must specify the title of the menu and click on the "Create Menu" button.

After creating the menu, you need to add menu items via dragging. All your website’s categories, posts, and pages are indexed in the left column, and from there, you can directly drag and drop them into your newly created menu.
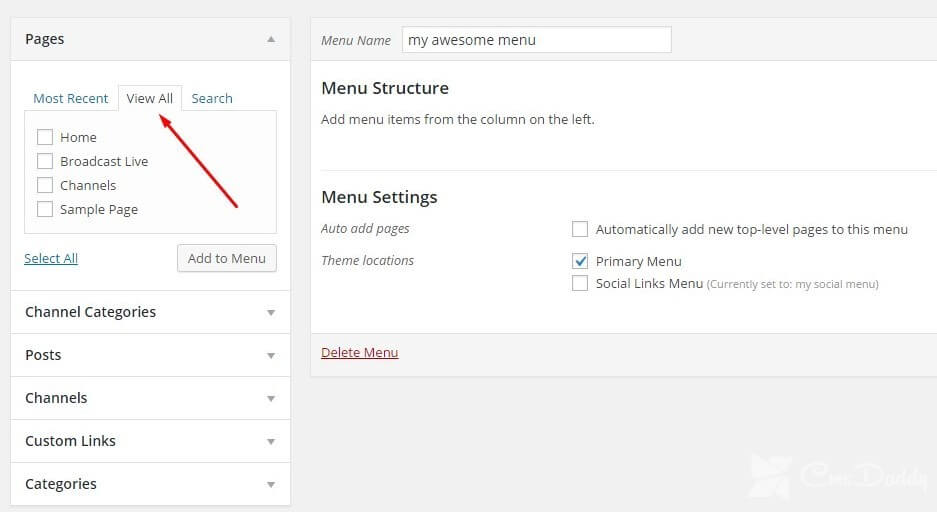
At first, you need to click on Pages and View All. Choose all the pages which you want to show in your menu (use the checkboxes next to the pages’ names).

Add the menu item as an arbitrary link
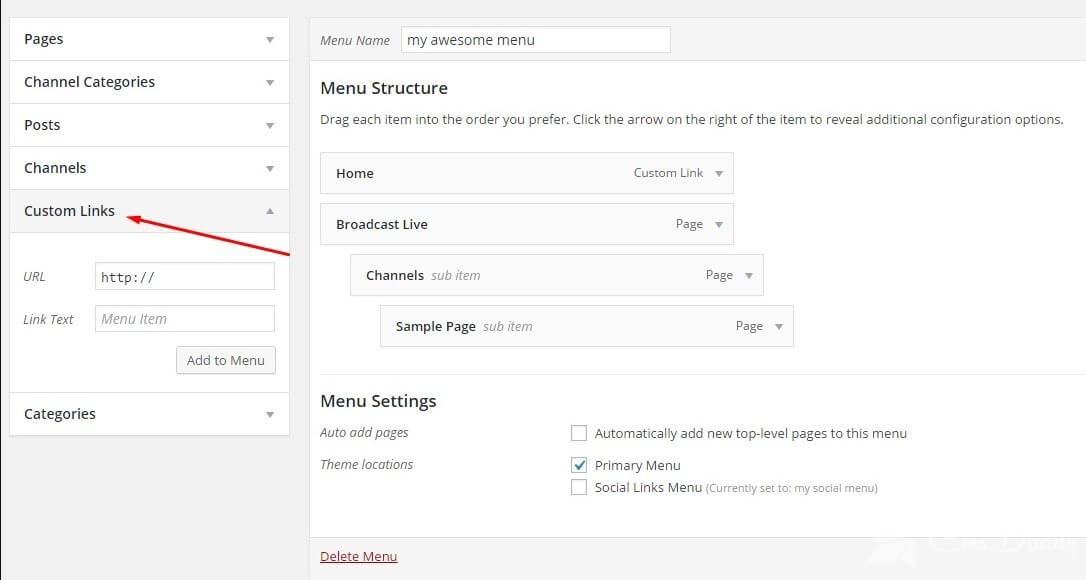
Now let's start adding menu items. As a menu item, you can use the leader link anywhere. To create such a menu item, in the "Random Links" panel in the "URL" field, specify the link address, and in the "Text" text that will be displayed as a menu item. After that, click on the "Add to the menu" button and the menu item will be created.

In the same way as menu items, you can add desire categories to the menu.
After adding all the necessary items, all the menu items will be displayed in the right panel.
Dragging data points to change their positions.
In addition, you can make some menu items of the subsidiary, i.e., nested within the parent. To make a certain point a child, you need to seize it with the left mouse button and drag it slightly to the side. As a result, we will create a drop-down menu in which child items will be displayed when you hover on the parent menu item. If your drop-down menu depends on the theme. From the fact that any headings or the page was nested, or child, they will not be on the menu. So all the child headings you want to group in the settings menu.

After creating all needed menu items and settings, click "Save menu" and the menu will be created.
How to select your menu’s location
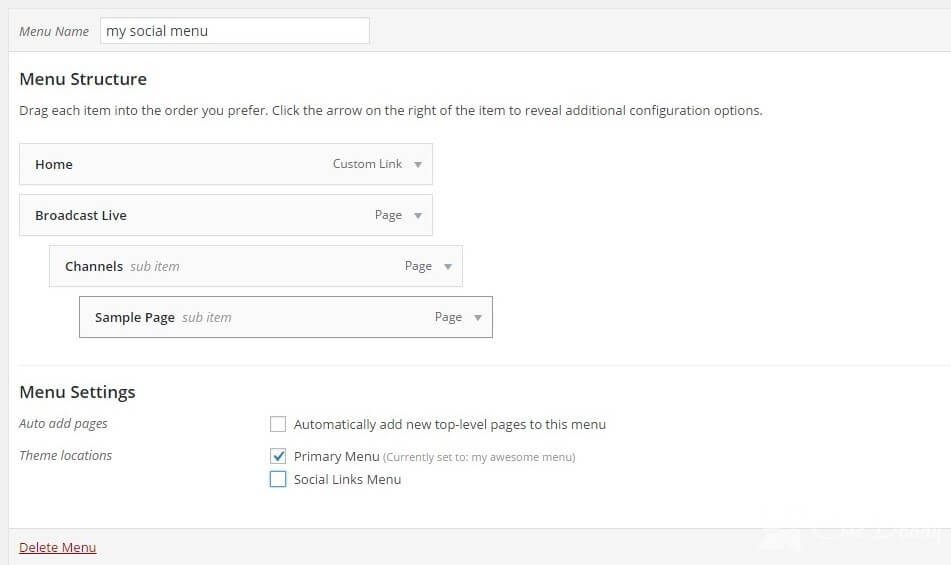
Now, your menu is ready to publish on the website frontend, it’s time to select where you want it to show. But there’s an important thing to know here.
Not every WordPress themes support multiple menus. There are two default menus: primary and secondary menus. So, depending upon your theme’s customization options, you can use more menus.


