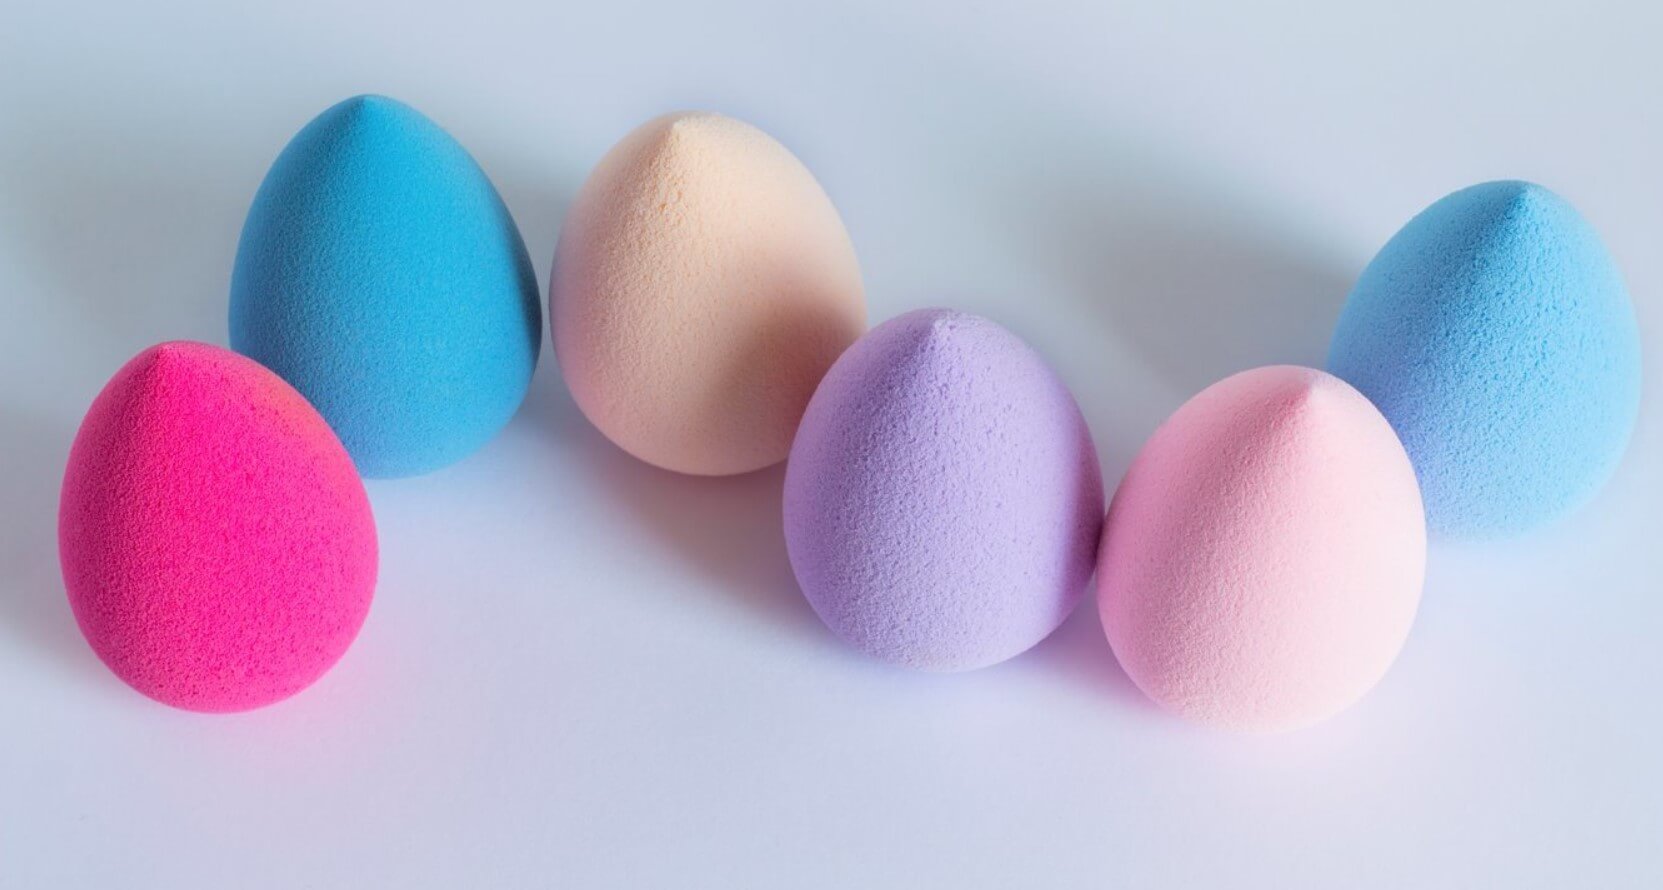
Unlocking Beauty Secrets: How to Clean Makeup Sponges for a Flawless Application

Discover the best practices for maintaining a flawless makeup routine with our comprehensive guide on "How to Clean Makeup Sponges?" Makeup sponges are a game-changer in the beauty world, providing a flawless finish for your makeup application. However, regular cleaning is essential to keep these handy tools effective and hygienic. In this article, we'll walk you through the step-by-step process of cleaning your makeup sponges, ensuring they remain in top-notch condition for a flawless makeup routine. Learn about the importance of cleaning, gather the essential tools, and master the art of makeup sponge maintenance.
Steps to Clean Makeup Sponges for a Flawless Application
1. Importance of Cleaning Makeup Sponges:
Before delving into the cleaning process, let's understand why it's crucial to keep your makeup sponges clean. Over time, sponges accumulate makeup, oils, and bacteria, leading to potential skin issues and a compromised makeup application. Regular cleaning not only maintains the sponge's performance but also promotes healthy skin by preventing breakouts and irritations. By incorporating proper cleaning habits, you'll extend the lifespan of your makeup sponge and ensure a flawless, bacteria-free makeup application every time.

2. Gathering the Essentials:
Prepare to elevate your makeup routine by gathering the essential tools and products needed to clean your makeup sponges effectively. A gentle soap or cleanser, warm water, and a clean towel are key components of this process. Opt for a mild, fragrance-free soap to prevent any skin irritations, and consider investing in a specialized makeup sponge cleanser for a thorough cleaning experience. Having these items ready will streamline the process and ensure you get the best results in your quest to master "How to Clean Makeup Sponges."
3. Preparing Your Workspace:
Set the stage for beauty success by creating a dedicated workspace for cleaning your makeup sponges. Lay down a clean towel to prevent any mess and have all your cleaning supplies within reach. This organized setup will make the process more efficient, allowing you to focus on rejuvenating your makeup sponges without any distractions.
4. Step-by-Step Cleaning Process:
a. Wetting the Sponge:
Start your journey to cleaner makeup sponges by thoroughly wetting them under running water. Complete saturation allows for a more effective cleaning process, as sponges tend to absorb water, making them expand and easier to clean.
b. Applying Cleanser:
Next, apply a small amount of your chosen cleanser directly onto the wet makeup sponge. If using a specialized cleanser, follow the product's instructions for the best results. The cleanser will break down makeup residue and eliminate bacteria, leaving your sponge fresh and ready for use.
c. Gently Massaging and Squeezing:
With the cleanser applied, gently massage and squeeze the sponge. Focus on areas with stubborn makeup buildup, such as the base and the tip. The goal is to work the cleanser into the sponge's material, dislodging any trapped makeup and impurities.
d. Rinsing Thoroughly:
Once you've massaged the cleanser into the sponge, rinse it thoroughly under warm running water. Continue squeezing and massaging while rinsing to ensure you remove all traces of cleanser and makeup from the sponge.
e. Repeat if Necessary:
For heavily soiled sponges, you may need to repeat the cleaning process. Don't hesitate to apply more cleanser and repeat the steps until the water runs clear, indicating that the sponge is clean.
5. Drying Your Makeup Sponge:
After a thorough cleaning, it's crucial to allow your makeup sponge to dry properly. Gently pat the sponge with a clean towel to remove excess water, being careful not to distort its shape. To air-dry, place the sponge in a well-ventilated area. Avoid leaving it in a closed space, as this can lead to mildew growth. Alternatively, invest in a specialized sponge drying rack to ensure proper airflow and maintain the sponge's integrity.
6. Tips for Maintaining Clean Makeup Sponges:
To keep your makeup sponges in top condition, consider the following tips:
a. Clean your sponge after each use to prevent product buildup. b. Replace your makeup sponge every few months to maintain hygiene. c. Store your sponge in a clean, dry environment to prevent bacteria growth. d. Avoid using harsh chemicals or bleach, as they can damage the sponge's material.
Conclusion:
Incorporating a regular cleaning routine into your makeup sponge care is the key to achieving a flawless and hygienic makeup application. By following these steps and tips, you'll not only extend the life of your makeup sponge but also ensure a fresh and bacteria-free canvas for your daily beauty routine. Elevate your makeup game with clean, well-maintained sponges that provide the perfect finish every time. Master the art of "How to Clean Makeup Sponges" and unlock the secrets to a flawless beauty routine.


