Any WordPress blog enthusiast would tell you how big of a deal it is to share one’s content out there to potential readers. Aside from the growing recognition one tends to gradually build, it is just naturally refreshing to have the self-conviction that your creative work is being read by a multitude of people. But what is daunting to bloggers is the seemingly unlimited time and effort it may take to share their content across the various social media sites. With the onset of a myriad of social media sites, it becomes manually over-involving to keep track, on a consistent basis, of all of one’s accounts.
So it is quite logical that many bloggers would want to resort to an automated way to share their content out there and, more intricately, synchronize their social media accounts and blog sites together. Below are some of the applications and software programs available to make this possible:
WORDPRESS BLOG POST AUTO PUBLISH TO SOCIAL MEDIA
This one of the most fundamental means through which one can automatically share blog posts on social media. It is easy to use and can be downloaded free of charge.
We are skipping the basic info like installing WordPress and theme to your server. You can find that on our previous posts.
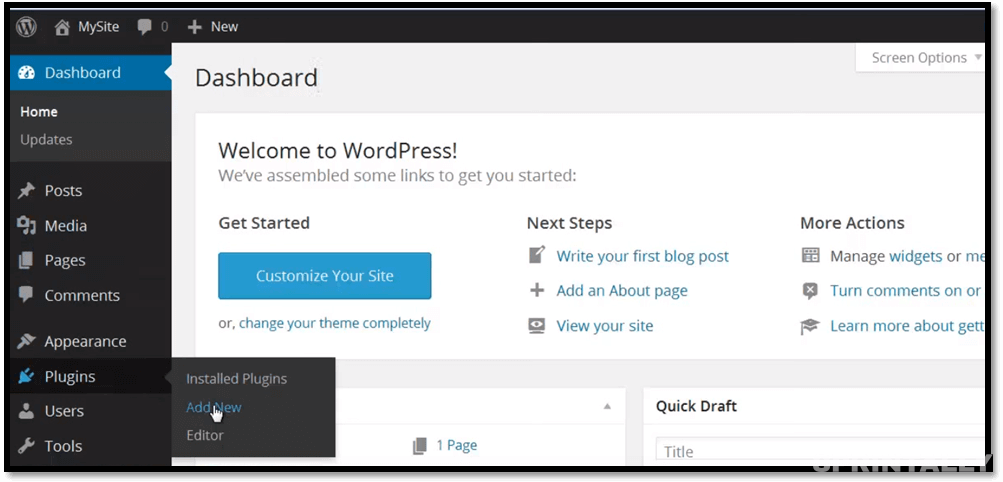
After installing the theme, go to your Dashboard and under plugins, select Add New.
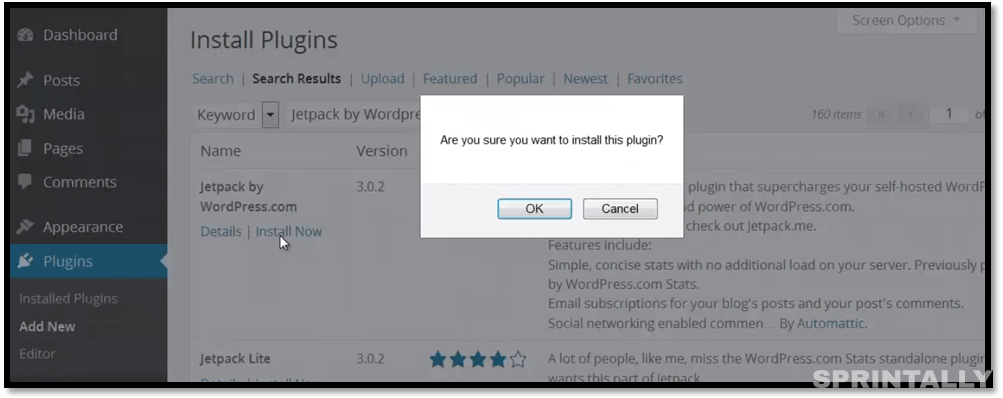
Search for Jetpack by WordPress plugin. Click on Install Now and Click OK.
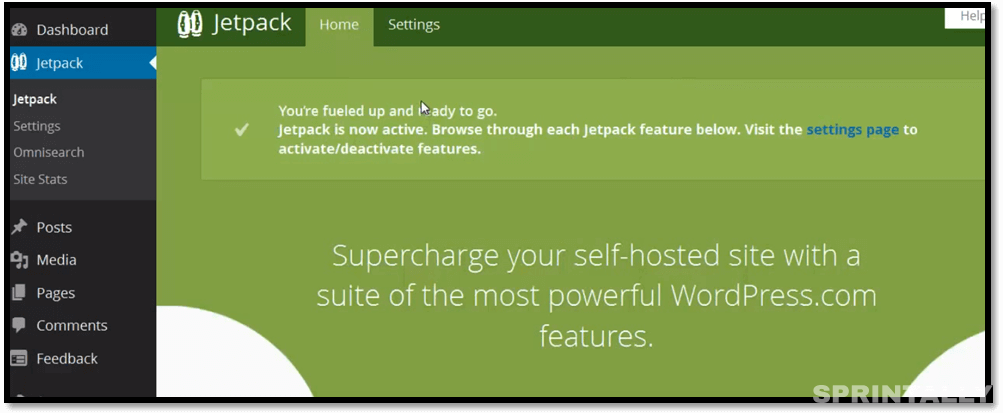
Once you have seen this screen, you have successfully installed the plugin. Now you need to activate the plugin by clicking the Activating plugin link.
Once activated you have to connect Jetpack to WordPress.com. Click on Connect to WordPress.com button. You now need to authorize jet pack account by giving your login credentials. Now jetpack has been successfully activated to your WordPress account.
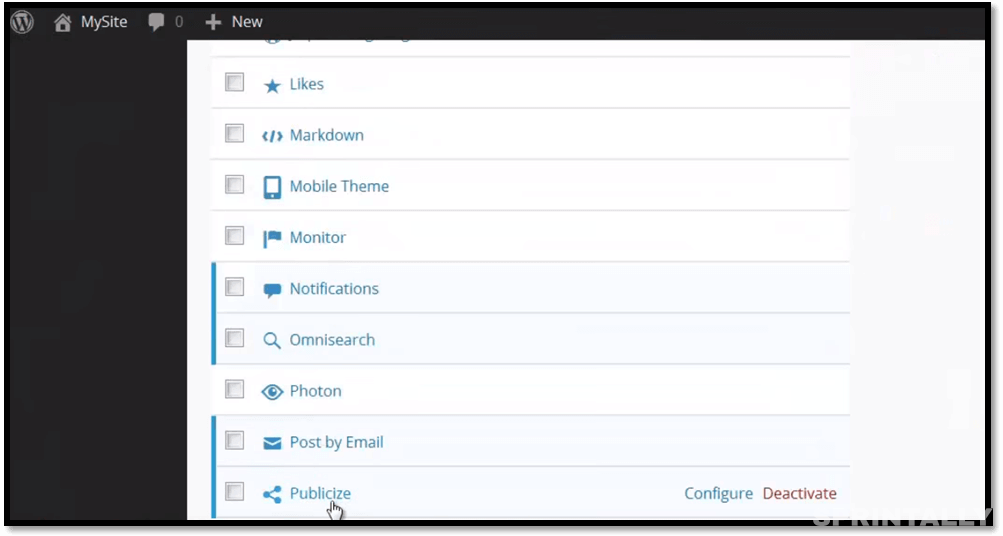
Now we need to set up the publicize, to do that you need to go to Jetpack—Settings and look for Publicize.
Click on configure and this is where you can connect your site to social network
 profiles.
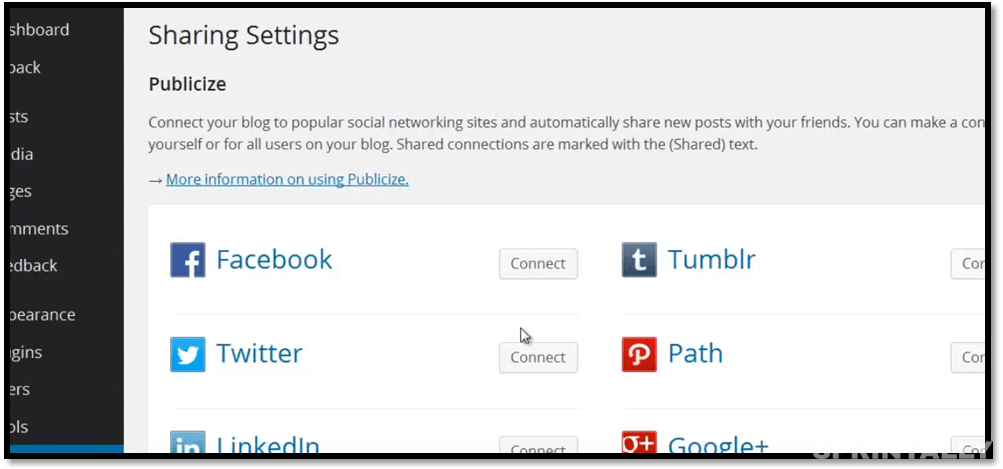
Click on connect and authorize your social network site. Once it’s successfully done, you will get a confirmation message.
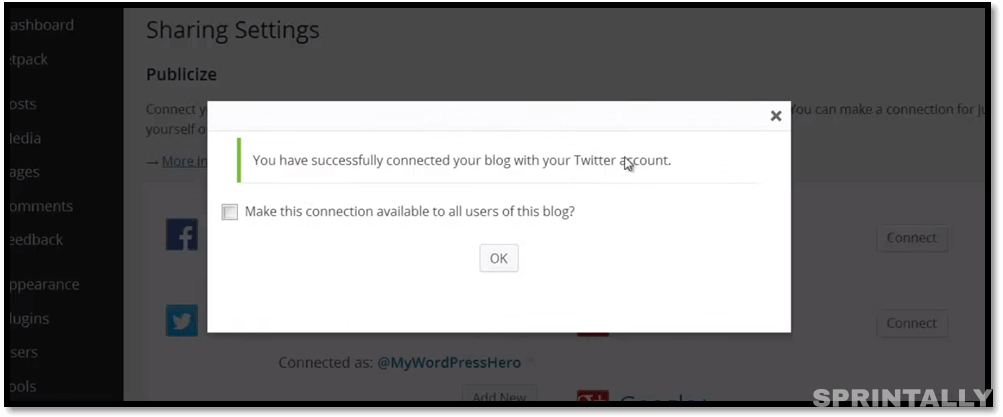
Do this same procedure for all your available social accounts. Once you have successfully activated this, there will be a Publicize link available on your New post page.
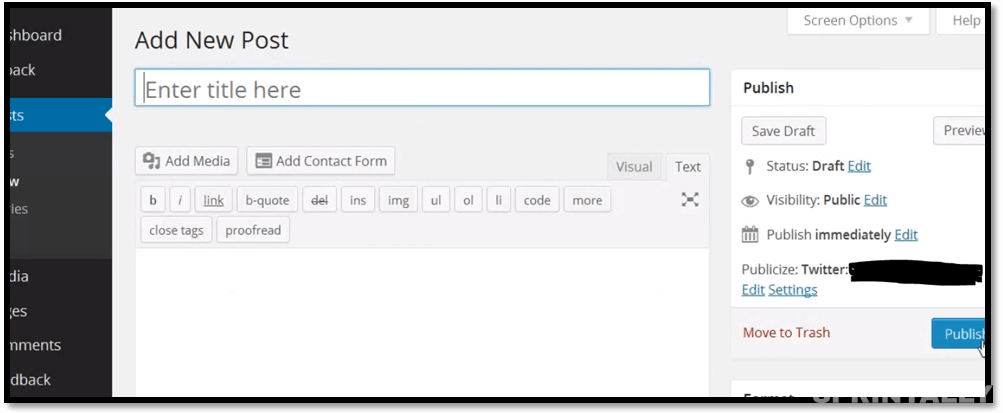
You can click on edit and edit the title of the post if you like.
There are a couple of things you need to remember while using this publicize plugin.
- If you schedule a post, it will not be actually publicized until it’s actually published.
- Saving a post as a draft will not publicize the post.
- Static pages will not be publicized.
If you are finding trouble in publicizing the post on your social accounts, you may need to reconnect your social account with Jetpack. That’s pretty much it, you now know, how to share your blogs to social sites all at once. If you’re a blogger looking to reach a wider audience, perhaps getting one of these may go a long way to cement your footing. Good luck!

 profiles.