How to connect airpods to laptop?

In today's fast-paced digital world, wireless technology has become a staple in our daily lives. One such popular wireless device is Apple's AirPods, known for their seamless connectivity and superior sound quality. While they are primarily designed for use with iPhones and iPads, many users are unaware that they can also be easily connected to laptops for an enhanced audio experience.
AirPods can connect to laptops using Bluetooth, not just iPhones. You can use them to listen to podcasts and join Zoom meetings easily.
AirPods can easily connect to Apple devices like iPhones and iPads, allowing you to listen to podcasts or watch movies without bothering others. But you can also connect them to Android devices and PCs using Bluetooth. This is helpful for blocking out noise at work or keeping your Zoom calls private. Here's how to connect your AirPods to PCs and Macs.
This is how to connect airpods to laptop, whether you're using a Mac or a Windows PC.
Step 1: Understanding Your AirPods

Understanding Your AirPods Before diving into the connection process, it's essential to have a basic understanding of your AirPods and their features. AirPods come in two variants: AirPods (1st and 2nd generation) and AirPods Pro. Each variant has its unique design and features, but the pairing process remains relatively similar across all models.
Step 2: Preparing Your Laptop

Preparing Your Laptop Ensure that your laptop's Bluetooth feature is turned on before attempting to connect your AirPods. On a Mac, you can enable Bluetooth by clicking on the Apple logo in the top-left corner of the screen, selecting "System Preferences," and then clicking on "Bluetooth." For Windows laptops, navigate to the Settings app, select "Devices," and then click on "Bluetooth & other devices" to turn on Bluetooth.
Step 3: Pairing AirPods with a Mac
- Open the AirPods case lid with the AirPods inside and hold the pairing button on the back of the case until the status light starts blinking white.
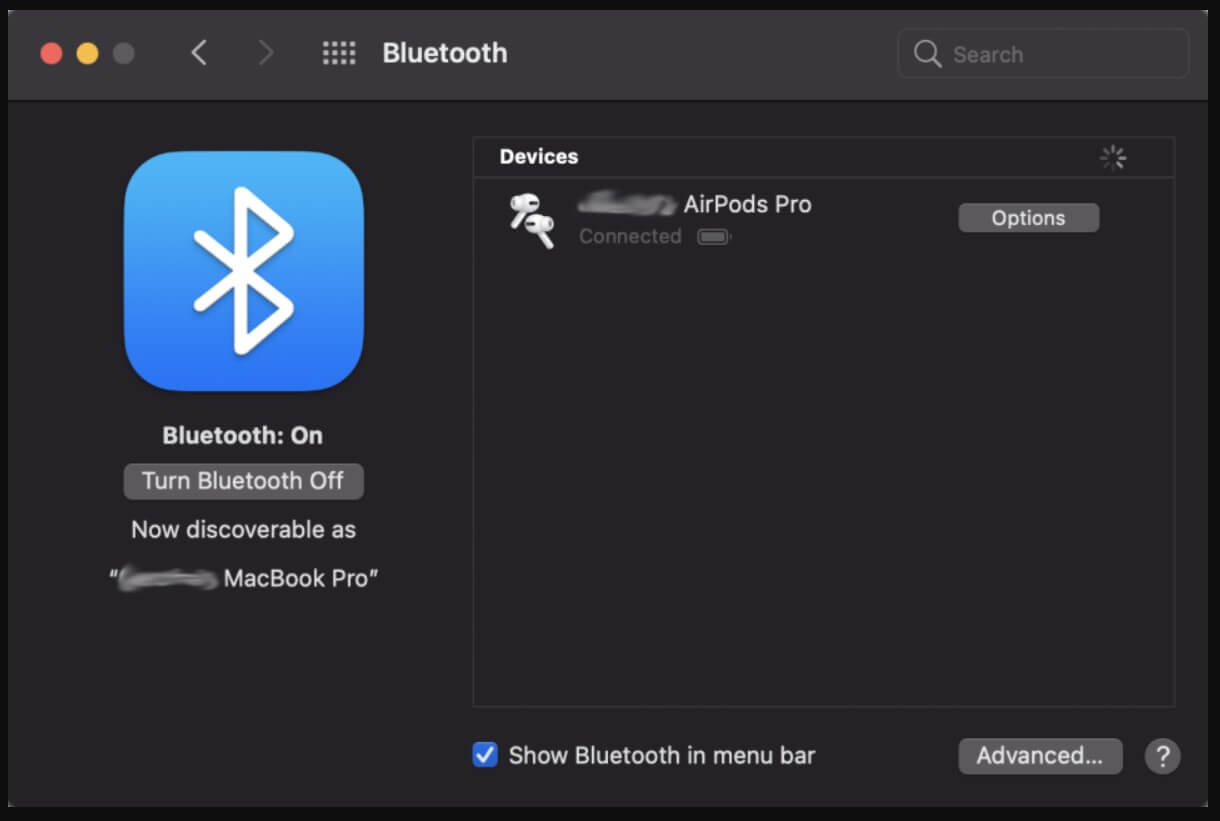
- On your Mac, click on the Bluetooth icon in the menu bar and select "Open Bluetooth Preferences."
- Your AirPods should appear in the list of available devices. Click on "Connect" next to your AirPods' name to pair them with your Mac.
Step 4: Pairing AirPods with a Windows Laptop
- Open the AirPods case lid with the AirPods inside and hold the pairing button on the back of the case until the status light starts blinking white.
- On your Windows laptop, go to the Settings app, select "Devices," and then click on "Bluetooth & other devices."
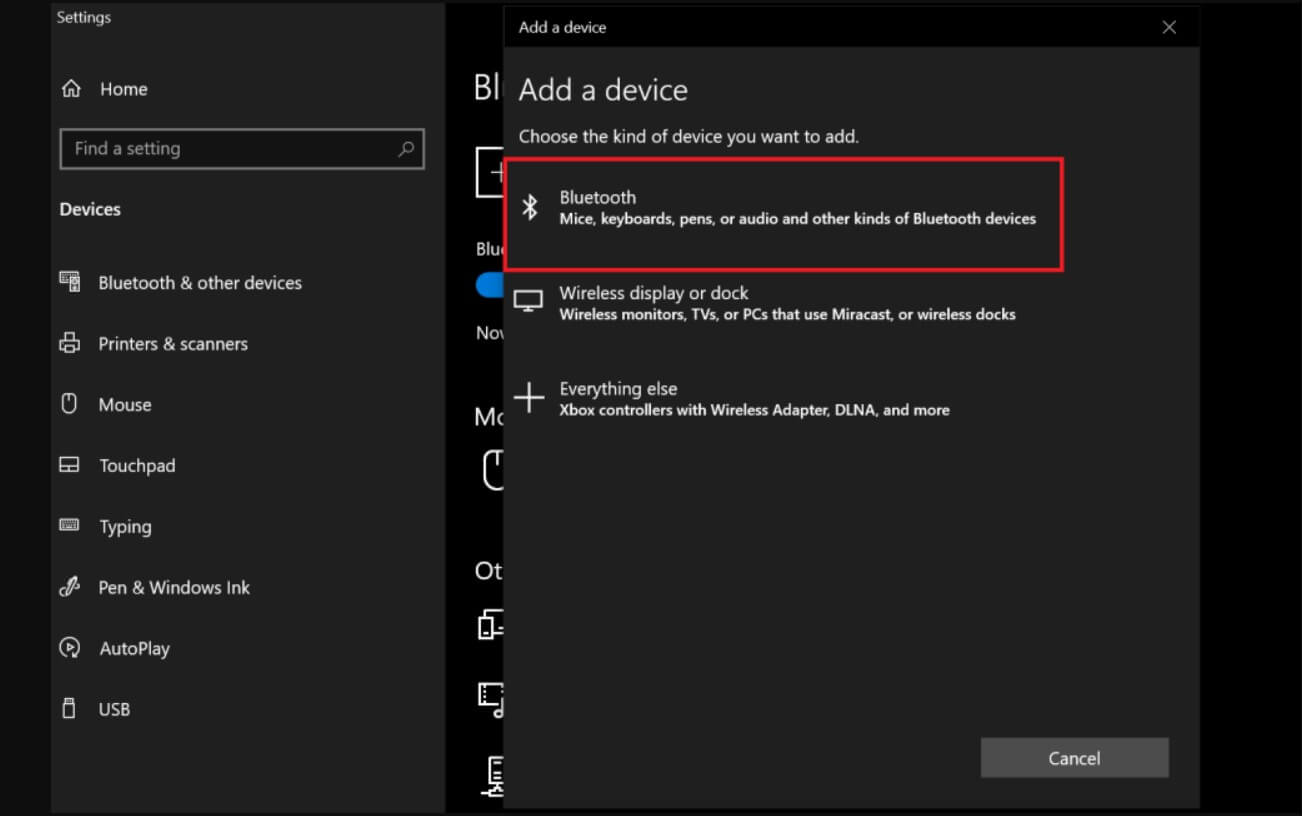
- Click on "Add Bluetooth or other device" and select "Bluetooth."
- Your AirPods should appear in the list of available devices. Click on them to pair with your Windows laptop.
Step 5: Troubleshooting Common Issues
Troubleshooting Common Issues Despite the straightforward pairing process, some users may encounter issues when connecting their AirPods to their laptops. Here are some common problems and their solutions:
- AirPods not appearing in the list of available devices: Make sure your AirPods are charged and in pairing mode. Restarting your laptop's Bluetooth or restarting your AirPods can also help.
- Poor audio quality or connection drops: Ensure that your AirPods are within the Bluetooth range of your laptop (typically around 33 feet). Interference from other electronic devices can also affect the connection quality.
- One AirPod not working: Clean the AirPods' charging contacts and ensure that they are properly seated in the charging case. You can also try resetting your AirPods by holding the pairing button on the back of the case for 15 seconds.
Step 6: Optimizing Your AirPods Experience
Optimizing Your AirPods Experience Once successfully paired, you can customize your AirPods settings on both Mac and Windows laptops to enhance your listening experience. On a Mac, you can adjust the audio balance, enable/disable automatic ear detection, and customize double-tap controls through the Bluetooth preferences. Similarly, Windows users can access additional AirPods settings by right-clicking on the volume icon in the taskbar and selecting "Open Sound settings."
Conclusion
Connecting your AirPods to your laptop opens up a world of possibilities for enjoying your favorite music, podcasts, and videos with unparalleled convenience and freedom. By following the steps outlined in this guide and troubleshooting any potential issues, you can seamlessly integrate your AirPods into your laptop setup for an enhanced audio experience like never before. So go ahead, pair your AirPods with your laptop, and enjoy wireless audio bliss on the go!